
How to Set up a 3D Printer for the First Time
March 29, 2023 - Emily Newton
Revolutionized is reader-supported. When you buy through links on our site, we may earn an affiliate commision. Learn more here.
Whether you just brought home your first 3D printer or received one as a long-awaited birthday gift, you’re probably wondering how to set it up. If this is your first time playing with a 3D printer, don’t worry — we’ve got you covered. Here are some tips and tricks to help you learn how to set up a 3D printer the first time. Plus, we’ve included a few ideas of printing projects to try out once you get everything up and running.
What Type of Kit Do You Have?
First, what type of 3D printing kit do you have? Most kits come in one of three styles — pre-assembled, partially assembled or DIY. The type of printing kit you have will determine how much work it will take to set it up. Pre-assembled kits are ready to use right out of the box. While they might need a little bit of setup before you can start printing — which we’ll talk about more in a minute — they’re generally plug-and-play ready.
Partially assembled kits are usually split right down the middle and packaged to save space. You’ll typically need to bolt them together and make a few electrical connections before your new printer is ready to use. DIY kits take quite a bit more assembly and will likely take you longer. Once you know what type of kit you have, move on to the next step of how to set up a 3D printer.
Follow the Instructions
This step might seem like common sense, but it bears repeating: Make sure you read the assembly and setup instructions. Take the time to read through them thoroughly before you start making connections or putting things together. Don’t try to set up anything or start playing with the printer until you have all the information possible. Right out of the box, it’s essential to read the instructions. Once you have everything assembled and calibrated, you won’t have to do a lot of tweaking.
This advice is especially crucial if you’ve got a partially assembled or DIY kit. Part of knowing how to set up a 3D printer is making sure to connect all your wires, balance the device and secure it before you try to print anything.
Don’t Assume It’s Already Calibrated
If you have a fully or partially assembled 3D printer, you might feel tempted to start printing as soon as you hook it up to your computer. However, you might end up wasting a lot of filament by assuming your printer is already fully calibrated. Even if it’s supposed to come calibrated and ready to use, things can get knocked out of alignment during shipping. If you’re too rough with it when you take it out of the box things can also get misaligned.
Luckily, calibration instructions should be a section in your instruction manual. Go over them and make sure to properly calibrate everything before you click that print button. Mild calibration errors might not cause problems, but significant errors could damage your equipment. Don’t print with an uncalibrated machine.
Make Sure Everything Is Square and Level
For this step, you’ll want to break out a level and T-square or other similar tools. If the frame isn’t square and the printing bed isn’t level, everything will end up crooked and lopsided. Unlevel machines could also lead to the hot print head, the thing that melts the plastic filament, melting into the print bed. Any way you look at it, printing without a square and level printer will be a giant mess.
You don’t need a lot of extra tools to ensure everything is squared away, but if the print bed isn’t level, there aren’t a lot of ways to fix it, short of ordering a new printing bed and starting from scratch. Some printers will come with an option to adjust the level of the print bed, so again — check your instructions.
If the printer does not have an auto-leveling feature, you’ll need to adjust the screws found at each corner of the print area. The goal is to make the surface and print area a uniform distance from the extruder. Your printing manual should have more specifics about the optimal measurement between the printing surface and extruder.
It may also include tips on how to get the right distance. One possibility suggested by at least one printer manufacturer is slipping a piece of paper between the printing surface and extruder. Encountering slight resistance when sliding it is a good sign. However, since printer models vary, always prioritize what the printer’s manufacturer suggests over more generalized guidance.
Lubricate Everything Sufficiently
3D printers have so many moving parts that adequate lubrication is essential for regular operation.
A good rule of thumb is that a component needs lubrication if it moves against another surface. However, the part receiving lubrication determines the best product to use on it.
One of the parts requiring lubrication is the threaded rod and nut along the Z-axis that change the printer nozzle’s height. The X and Y-axis guiderails along the print head and print bed also need lubrication. Besides promoting a hassle-free printing process, proper lubrication helps prevent the premature breakdown of parts.
A lubricant’s suitability for a 3D printer depends on how well it protects against the adverse effects of materials rubbing together and whether it helps the printer components move smoothly during operation. Because it’s so popular and widely available, some people wonder if they can use WD-40 as a lubricant. However, it’s not a suitable option, regardless of the brand of printer you have. Ongoing and excessive use of the product could even damage the printer.
Check your owner’s manual or setup instructions to find out what kind of lubricant you should be using, as well as your maintenance schedule. It’s one of those questions that if you ask 10 different people, you’ll get 10 different answers. Therefore, it’s always best to refer to your owner’s manual.
Before you start printing, slide the print head along the axles and manipulate the other moving parts to ensure that everything moves smoothly. There shouldn’t be any grinding. You’ll notice if there’s a problem, and it’s always better to find out before you’ve started printing.
Set the Desired Print Speed
One of the main advantages of 3D printing is that it is much faster than many other production methods. So, many people understandably wonder how the print speed affects the print quality. Generally, slower print speeds result in better-quality results. However, the specifics vary depending on the types of materials used and what the printing project involves.
As the extruder moves progressively faster, it vibrates more. That effect causes a reduction in the overall print quality. Many people find it particularly noticeable on consumer-grade printers. Manufacturers typically don’t make those with the expectation that people will be trying to print at very high speeds.
Whether a printer can handle a certain speed is not the only consideration. Limitations also exist regarding how fast the printing filament melts, impacting the maximum extruder flow speed. Different filaments have various physical and chemical properties. So, just setting the same print speed with two types of filament is not necessarily enough to get a similar outcome with each attempt.
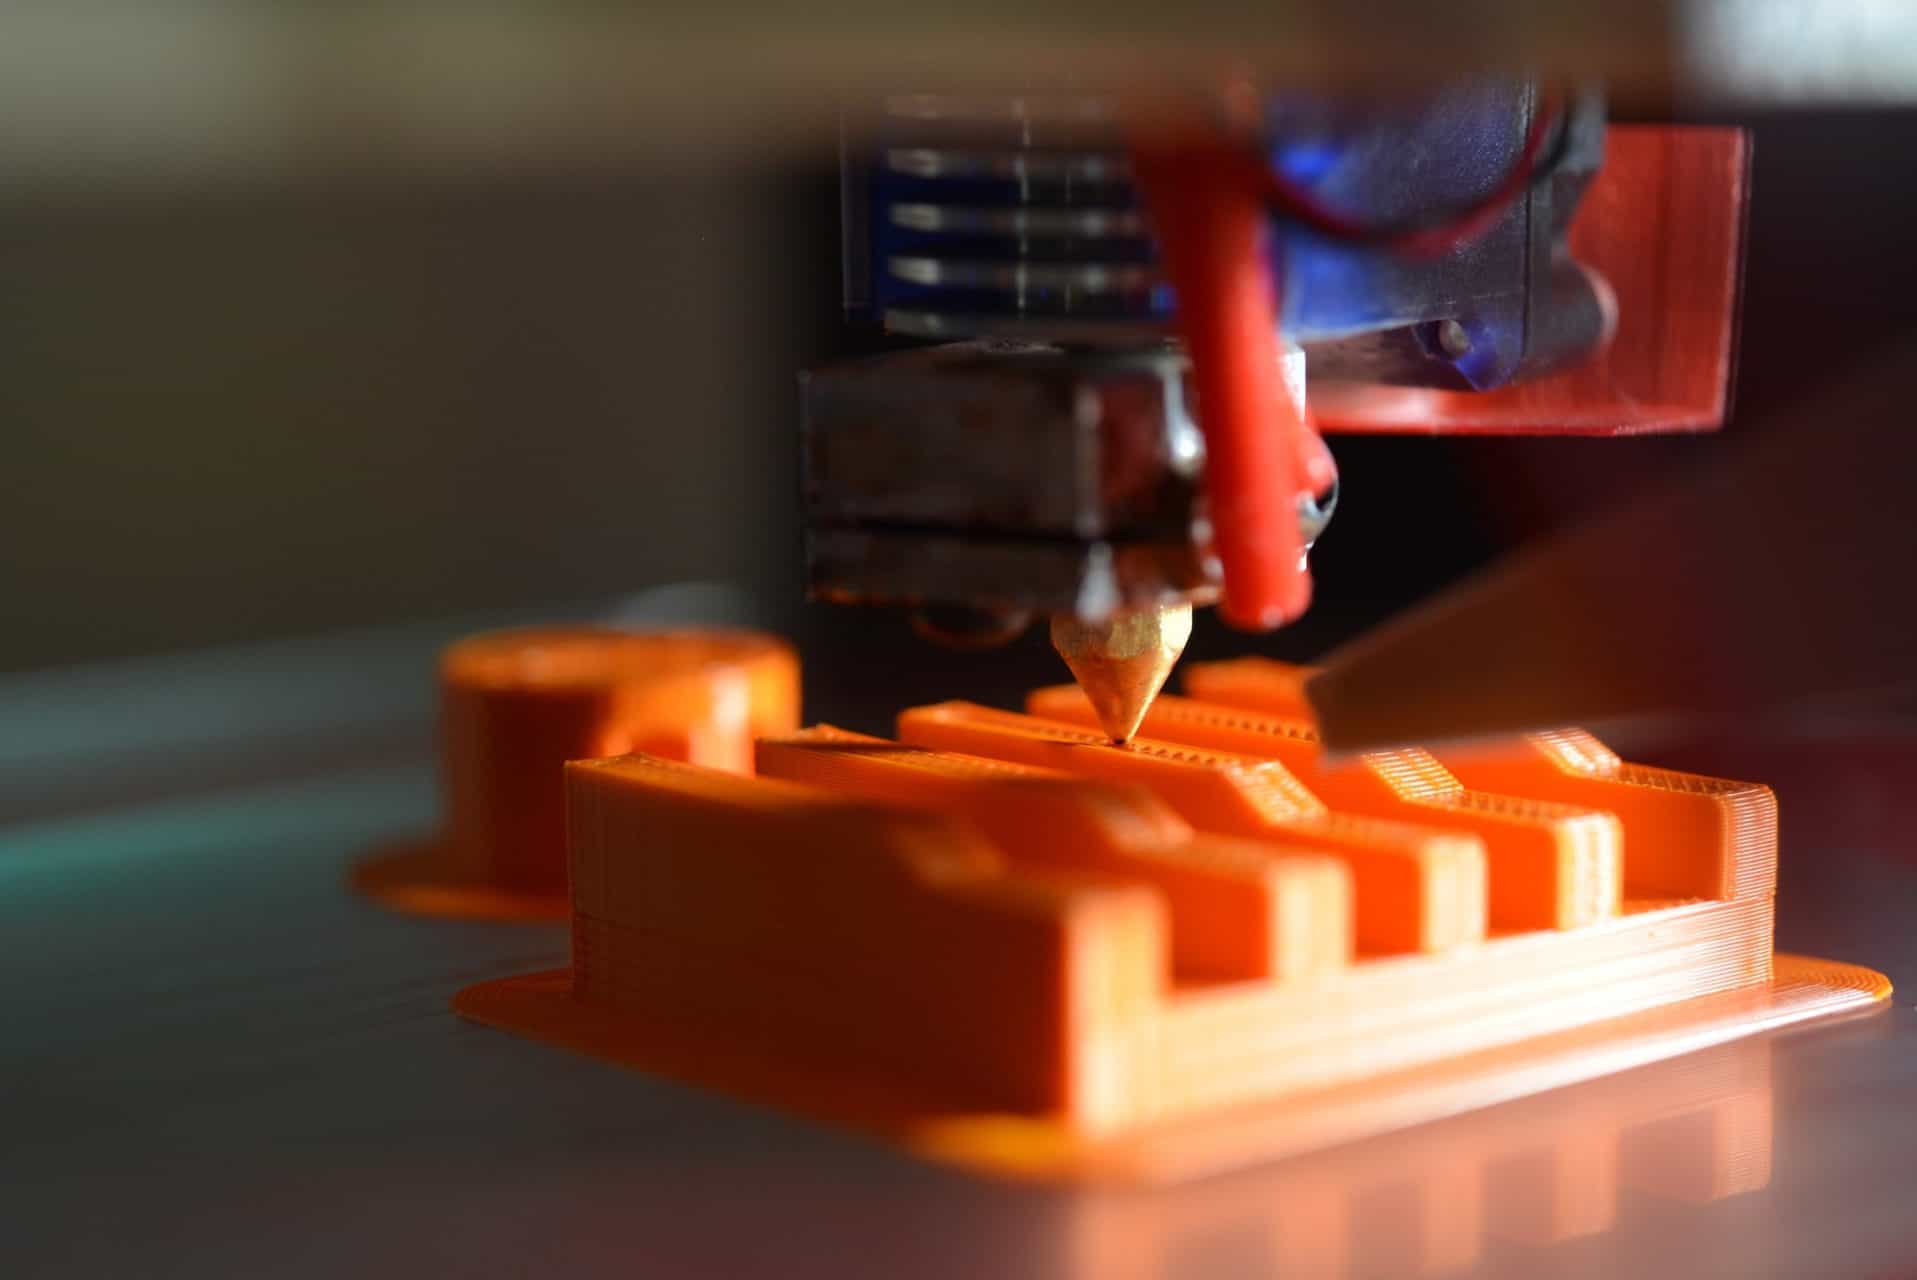
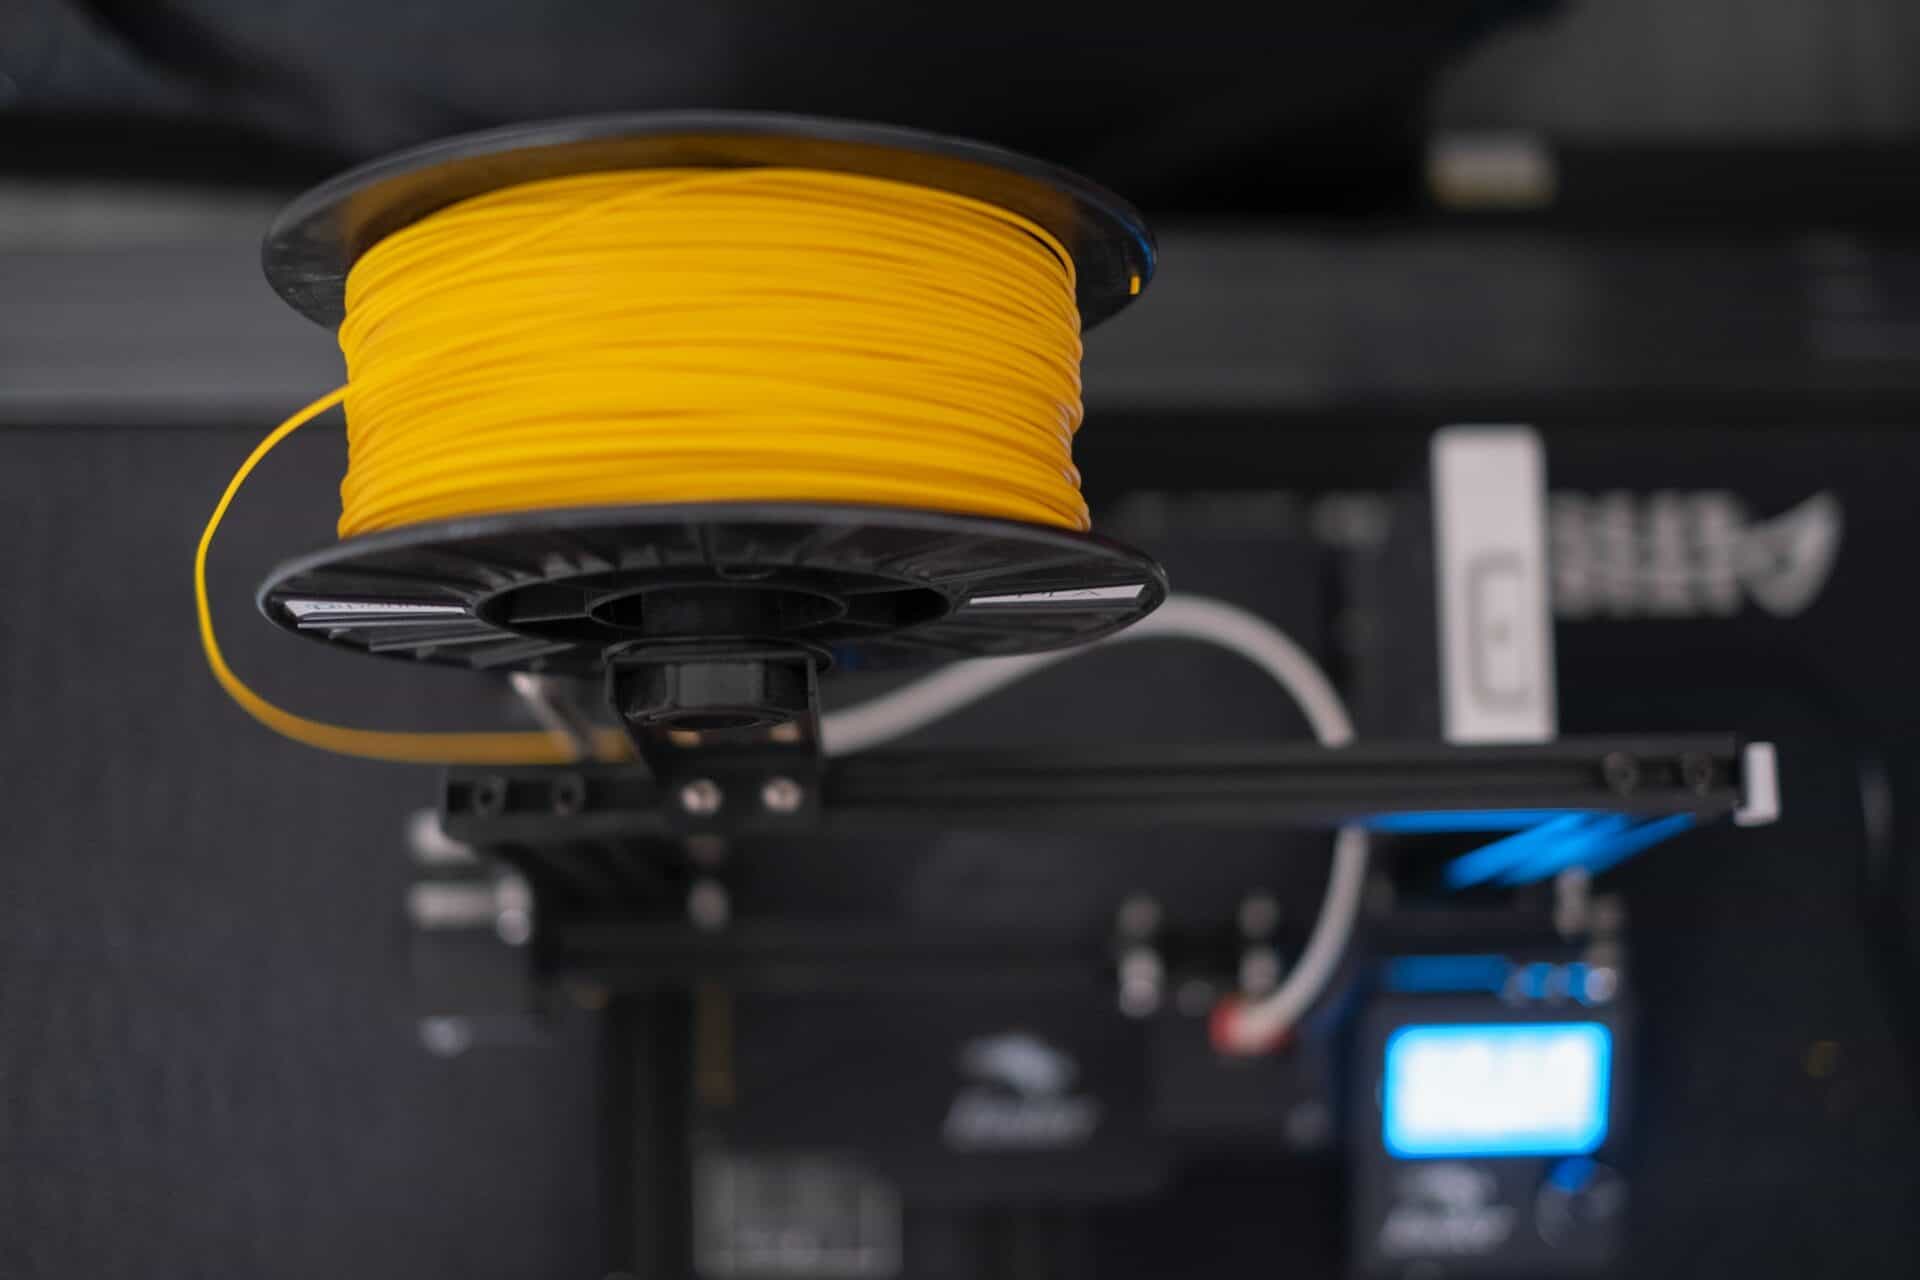
Feed Filament Into the Extruder
The filament has a significant impact on the printing process. Check the instructions associated with the printer and filament before proceeding. Some people recommend making a sharp, angled cut at the end you feed into the printer so it’s easier to load. Some printer models come with a cutting tool. Filaments may also have circular ends, and people sometimes find them harder to load. Bending and twisting the end before feeding it through can help.
Push the filament through the extruder’s entrance and keep going until you feel a bit of resistance. Then, the filament has likely reached the nozzle.
Choose a Design
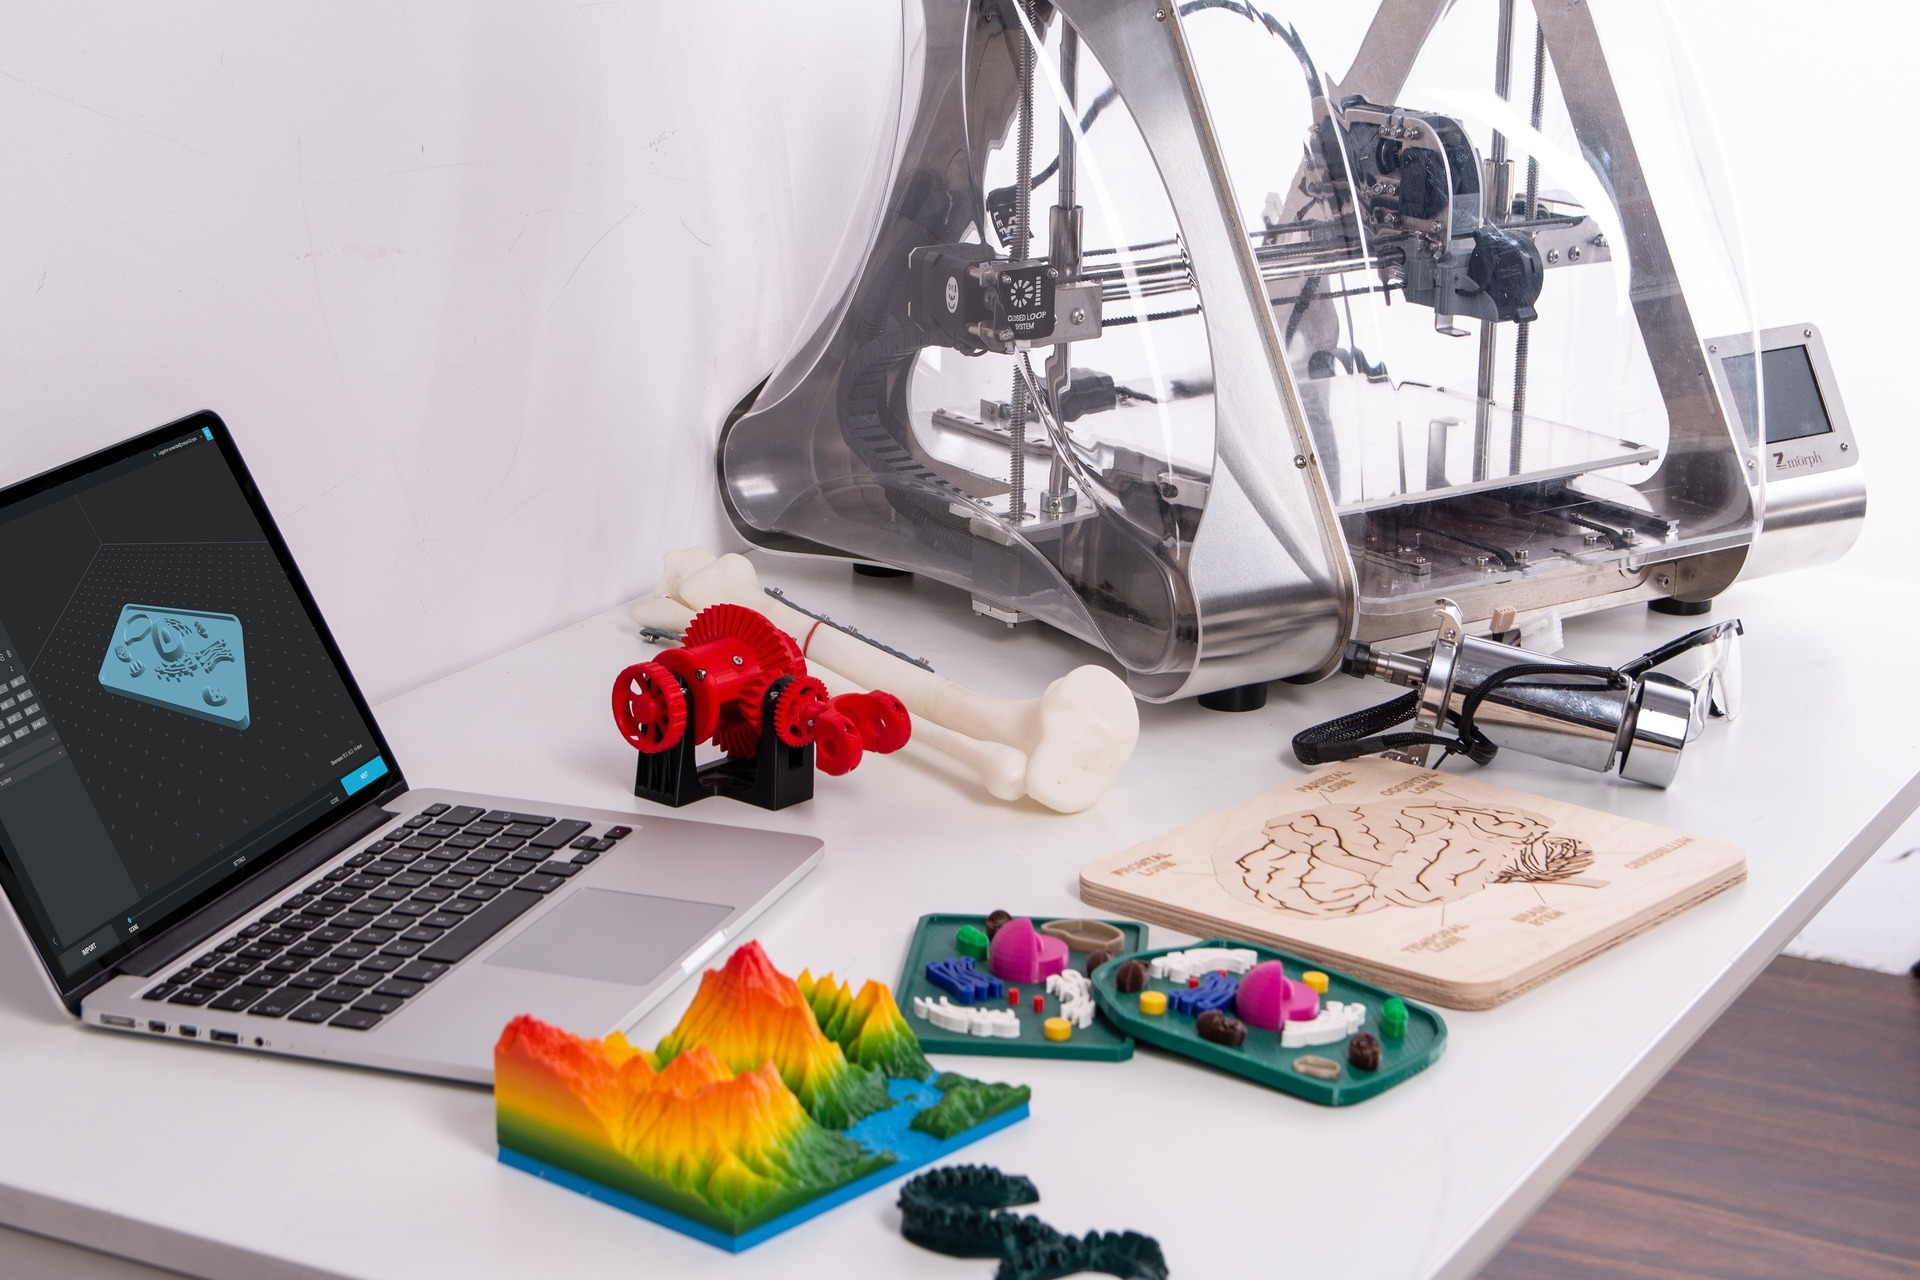
Setup is complete and you have everything ready to print. The next thing you need to do is choose and create a design. You can make nearly anything with a 3D printer — from a tripod for your phone to a bag hook so you can carry in all your groceries in one trip. There are plenty of options available for free online for you to choose from, or you can create designs in a CAD program.
It might be easier to ask what you can’t make with a 3D printer than to list what you can create with these devices. You can make everything from guitars and camera lenses to 3D printed models of anything you can scan. This could even include a working gun if you’ve got the right supplies. Even NASA uses 3D printers to send patterns for specialized tools to astronauts on the International Space Station.
Tips for Creating Great 3D Printing Projects
Learning how to set up a 3D printer is just the beginning of this awesome hobby. The more models you create and print, the more you’ll learn about the process, materials, printers and even CAD. There are a few tips that can come in handy early on.
Choosing Your Print Material
There are thousands of options for 3D printer materials today. Every 3D printer is limited to certain types of material. For example, a filament 3D printer cannot print with the fluid resin used for SLA 3D printers. Most consumer 3D printers today use FDM technology, or Fused Deposition Modeling.
FDM printers use spools of printing filament, most often various polymer plastics. Due to the high popularity of FDM 3D printing, there are a vast range of filament options on the market today.
Choosing the right one can be confusing at first. There are plenty of expensive niche filaments out there, but beginners should stick with something simple and affordable.
PLA filaments are usually the best fit for a good value filament option. PLA is one of the most common 3D printing materials, so it’s easy to find at a low price. It still delivers excellent print quality, though, making it an excellent choice for beginners. Plus, you’ll have plenty of colors to choose from.
How to Find Easy Beginner 3D Printing Designs
One of the biggest stumbling blocks beginners can run into in 3D printing is finding a first model to print. Some may think they need to learn to create their own CAD designs first, but this isn’t true. Many 3D printing enthusiasts do learn how to use CAD software. However, it’s not a necessity to learn how to set up a 3D printer or have a good time using one.
There are plenty of websites out there today where you can find thousands of free-to-use 3D printer models. Other hobbyists create these models and post them online for others to print for fun. Model databases can also be a great place to learn more about 3D printing and connect with other hobbyists.
For example, 3D printing community Printables has a database of thousands of free models you can browse through. They also run design contests and have free educational resources that can be helpful for beginners.
What to Do With Your 3D Printing Models
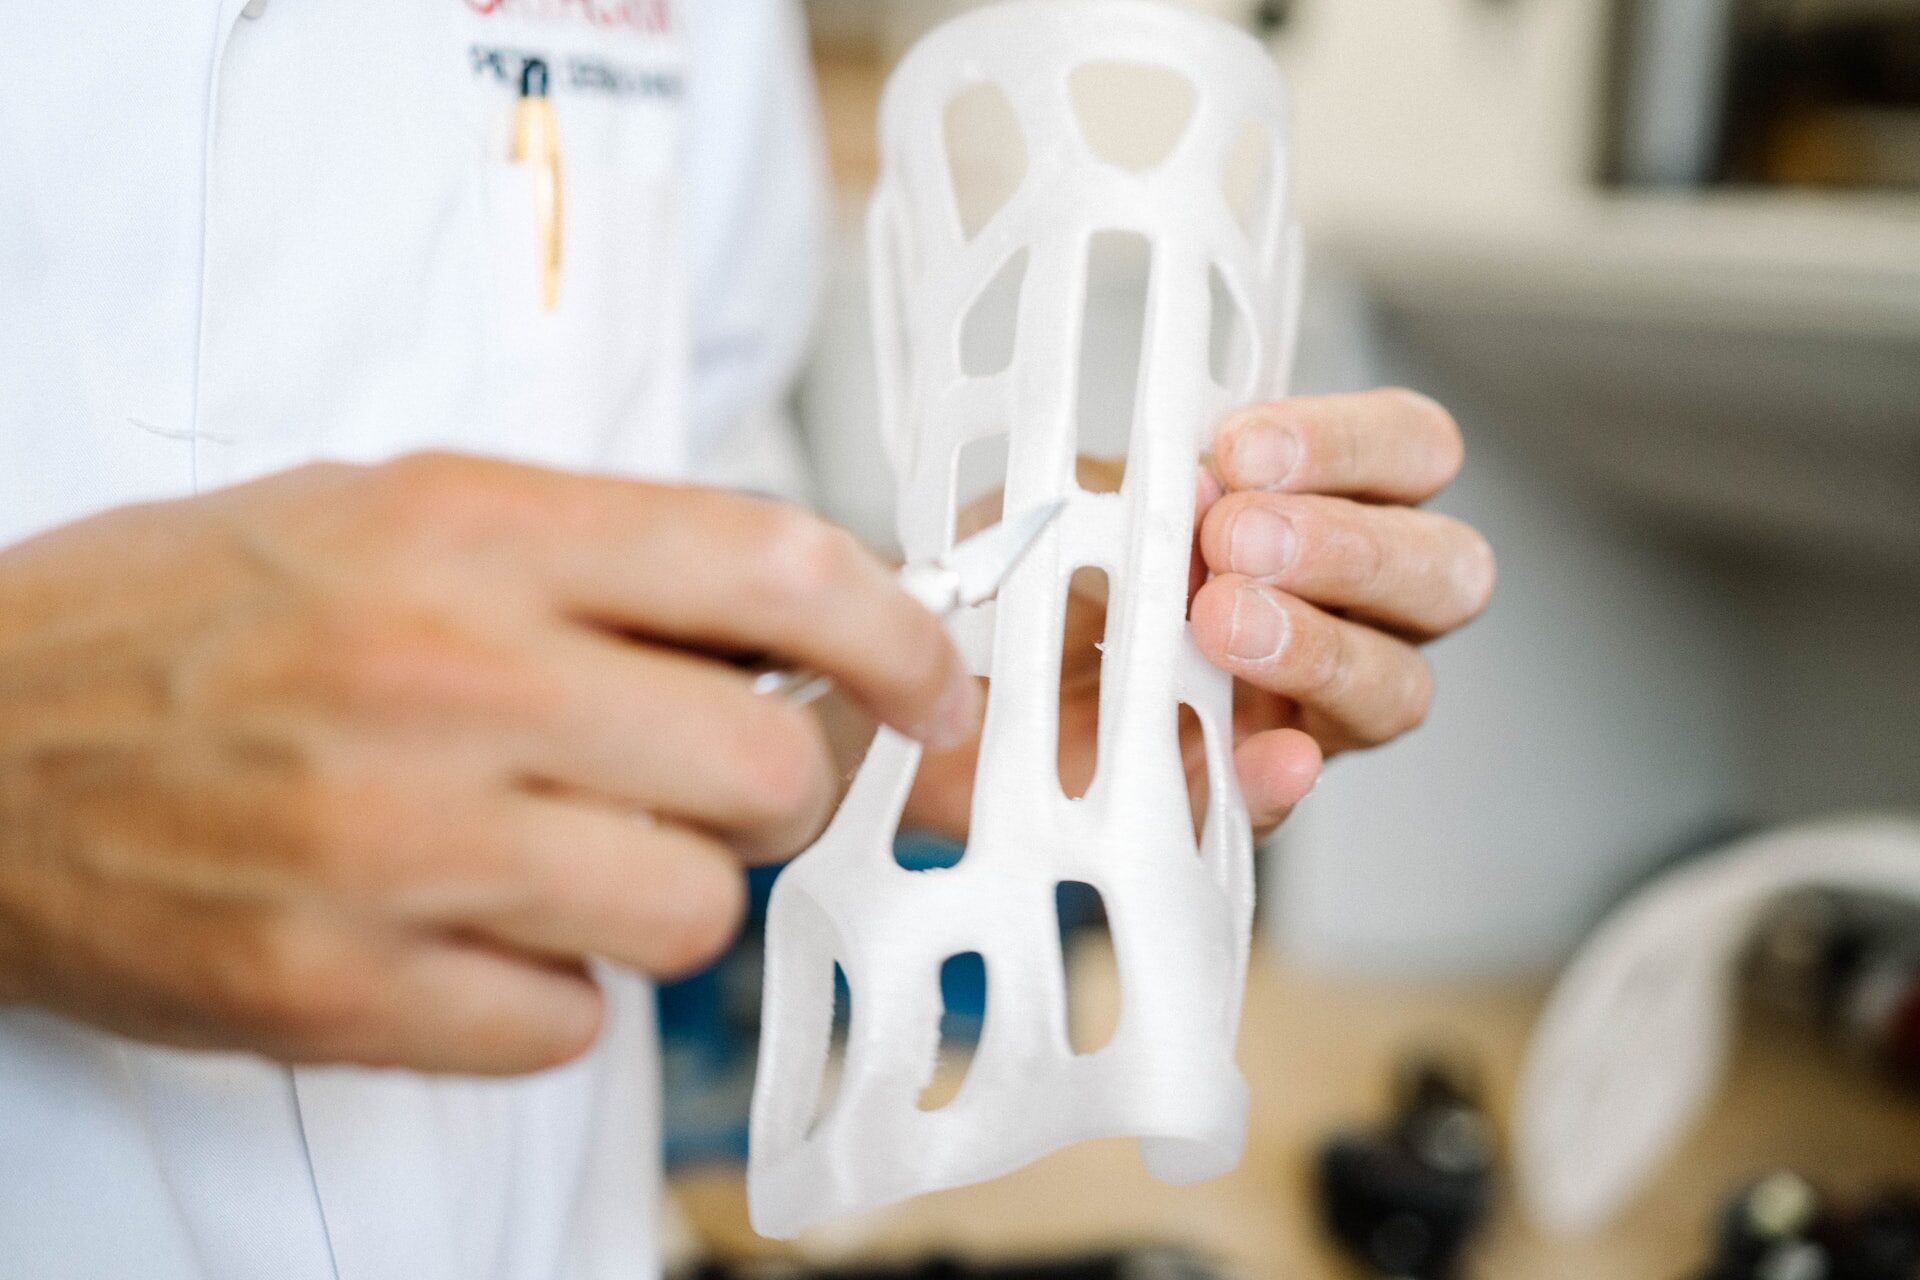
There are all kinds of things you can do with your 3D printed models after they’re finished printing. Even if you printed a simple action figure to display on your desk, there are still many further customization options.
This stage of the 3D printing process is known as post-processing. It involves a variety of extra processes that can spruce up the look of your finished model. Examples include sanding, gluing, priming, painting and adding various coatings. Some of these processes are more difficult than others.
A few easy post-processing options are ideal for beginners. Start by removing any supports on your model. Supports are thin sticks of printer material that are included in designs to ensure the model prints correctly. You can also go over the model and pick off excess bits and strings of filament.
After removing the supports, sanding is another easy post-processing step you can try. It may be a good idea to do this outside or in a well-ventilated area to keep indoor air clear of debris. Sanding is a great step to take before painting or polishing your model. It will help remove the jagged edges printers can leave behind.
After sanding, beginners can try painting or coating their models. Coatings like epoxy can give your model a clear shine. With some sanding and coating, it may even be hard to tell that the model is 3D printed! If you do want to paint your model, though, make sure to do so before applying a final glossy or matte coating.
Go From Learning How to Set Up a 3D Printer to Your First Project
Finally, once you’ve got everything set up and chosen your design, all that’s left to do is click print! 3D printing projects can take anywhere from a few hours to a few days to complete, so be patient. All your hard work will be worth it.
Editor’s note: This article was originally published on January 21, 2020 and was updated March 29, 2023 to provide readers with more updated information.
Revolutionized is reader-supported. When you buy through links on our site, we may earn an affiliate commision. Learn more here.
Author

Emily Newton
Emily Newton is a technology and industrial journalist and the Editor in Chief of Revolutionized. She manages the sites publishing schedule, SEO optimization and content strategy. Emily enjoys writing and researching articles about how technology is changing every industry. When she isn't working, Emily enjoys playing video games or curling up with a good book.

That’s very impressing. What is the model and the price of this 3d printer?