How to Design a Robot: 7 Basic Steps
February 24, 2023 - Lou Farrell
Revolutionized is reader-supported. When you buy through links on our site, we may earn an affiliate commission. Learn more here.
Learning how to design a robot has some great benefits for both kids and adults. Robotics has taken on a bigger role in education over recent years due to its effectiveness for sparking interest in STEM topics and careers. Adults can also benefit from learning how to build their own robot as technical skills like coding and engineering become more important in Industry 4.0. This guide will cover the basic process of designing your first robot, from concept to completion.
How to Design a Robot: 7 Basic Steps
Designing a robot is a highly creative process, but it does require some careful technical planning to maximize the chances of a successful robot. These seven basic steps will take you from a simple concept for a robot to a prototype and beyond.
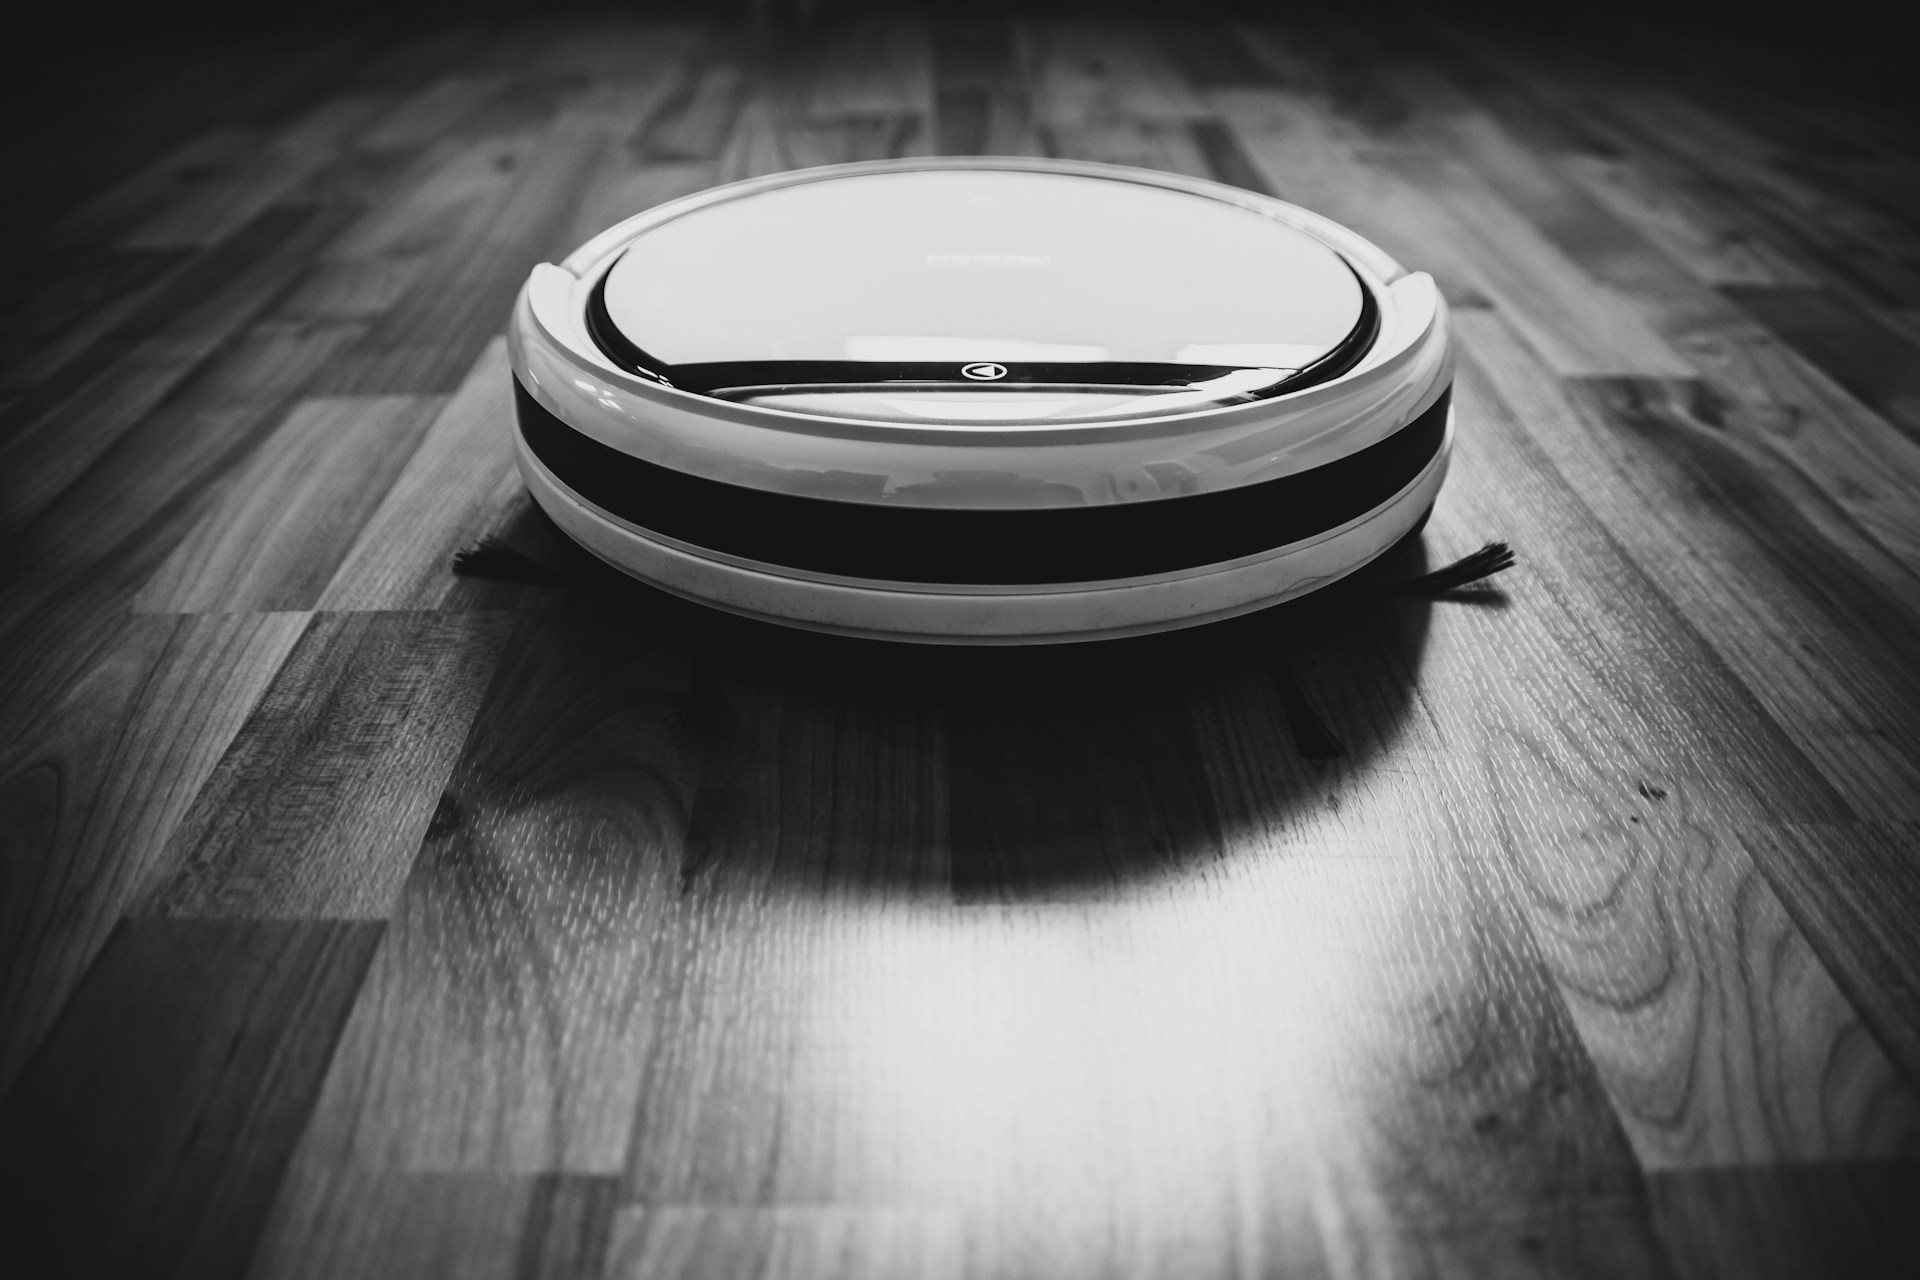
1. Ask Questions and Establish Goals
The first step in designing any robot is to begin asking questions and establish a goal. This initial stage is about determining some basic requirements for the robot and start getting ideas for how it might work. Don’t worry about drawing any designs yet. Before you move on to creating some initial sketches, there are a few questions about your robot that you should try to answer:
- What does my robot need to do?
- What materials do I have or need to build my robot?
- How will my robot navigate and interact with things?
- Does my robot have any predetermined design requirements?
Answering these questions will help you get an initial idea of how your robot needs to function. These initial questions also help guide you toward a goal for your robot. This is usually the primary function you have in mind. For example, if you wanted to design a line follower robot, your goal might be to design a robot that can successfully follow a line through a maze.
At this stage, you also need to consider any schedule or time constraints for your robot. Is there a deadline you want to have the robot or design completed by?
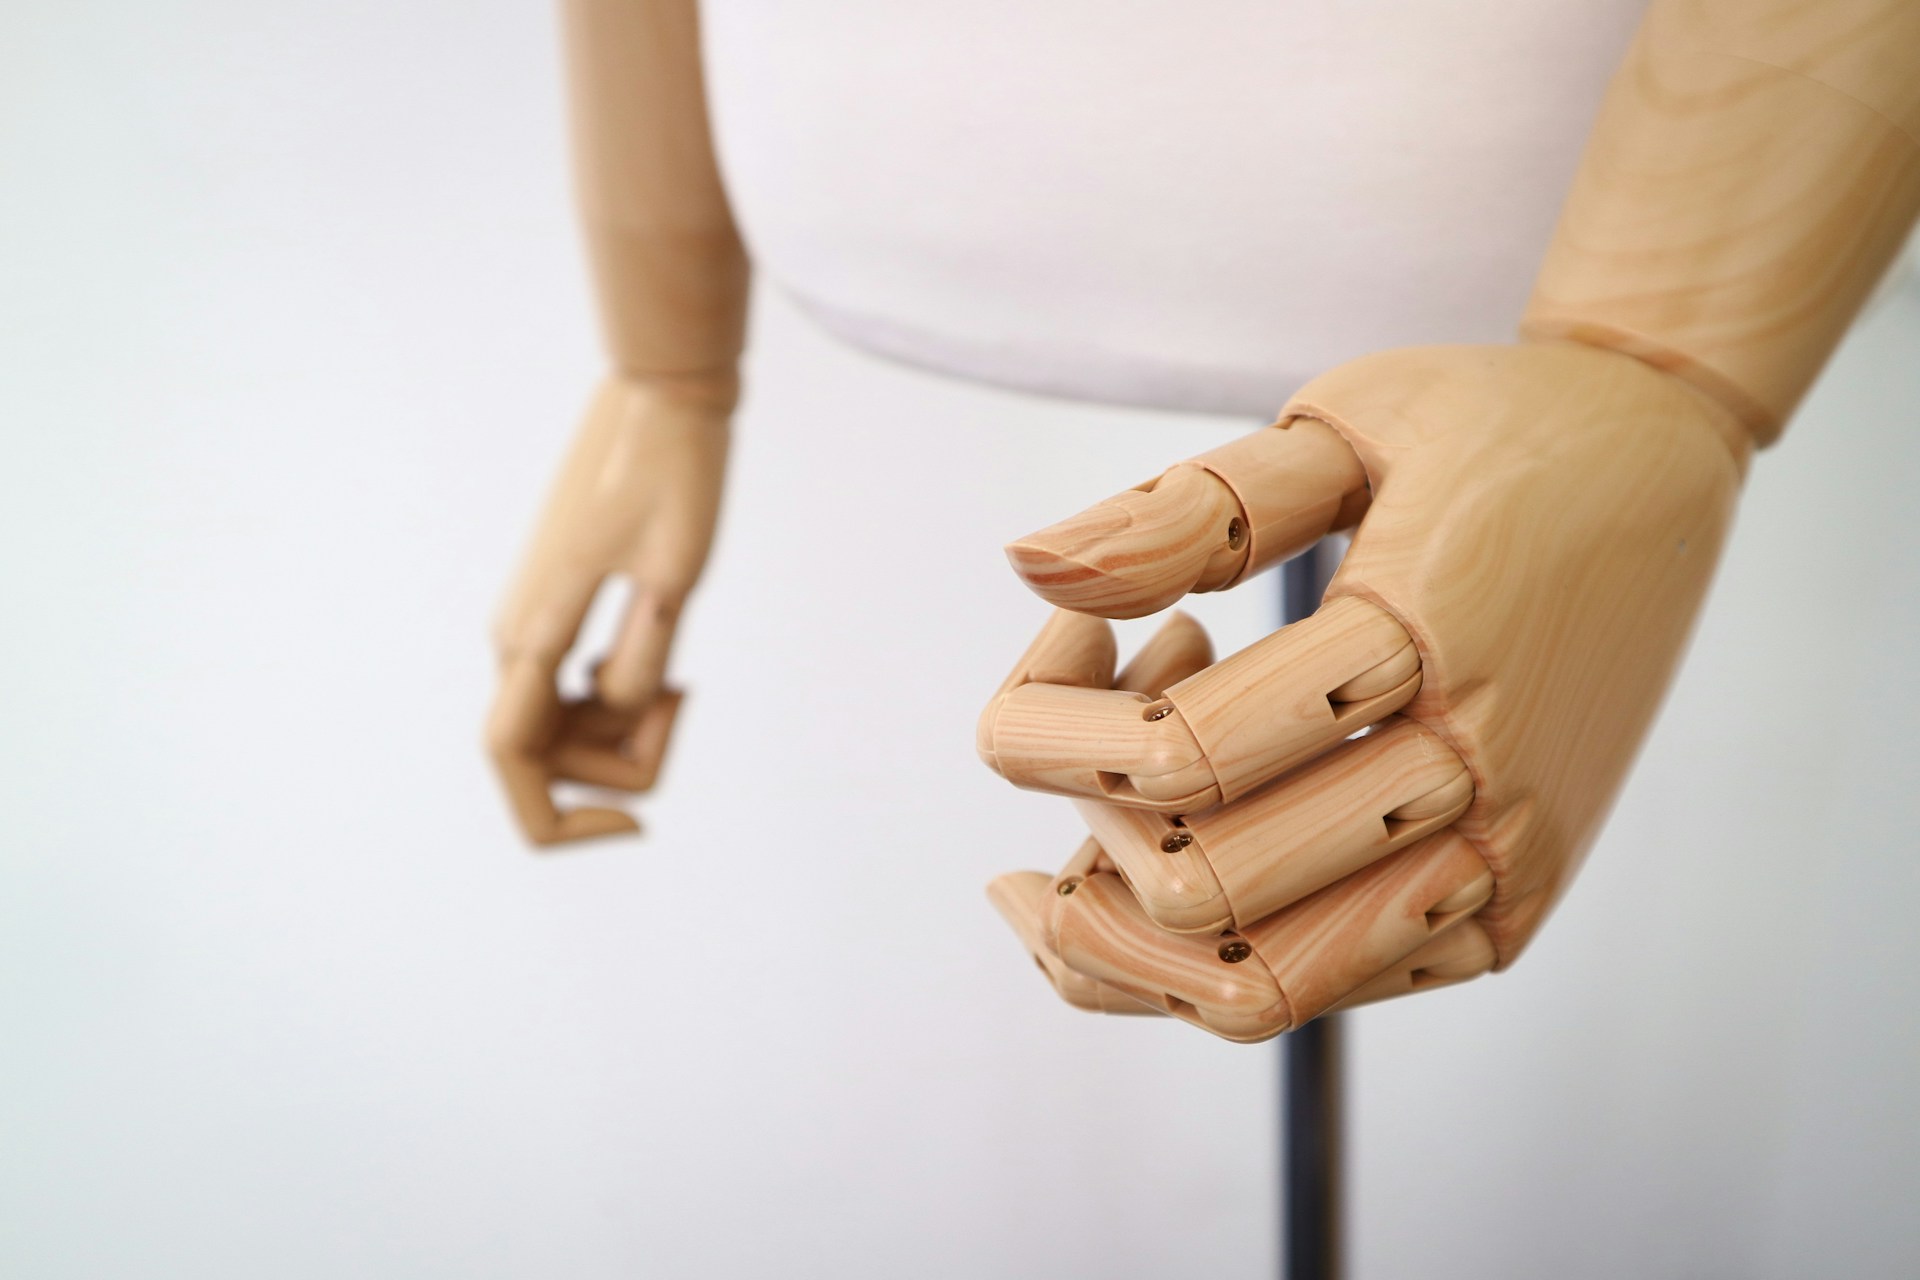
2. Brainstorm Designs and Concepts
After some foundational design requirements and a goal have been established, the next step in learning how to design a robot is creating some concept drawings. These are rough sketches of various ideas for the robot’s design. They don’t need to be scale drawings or overly detailed, just realistic concepts for the robot.
The goal for this stage is to explore as many variations of the robot’s design as possible. Consider the design requirements you established in the previous step. What are some different ways your robot could meet these requirements?
Only one concept will go on to be the robot’s final design, but finding the best concept is all about pitching as many as you can think of. Get creative during this visual brainstorming step!
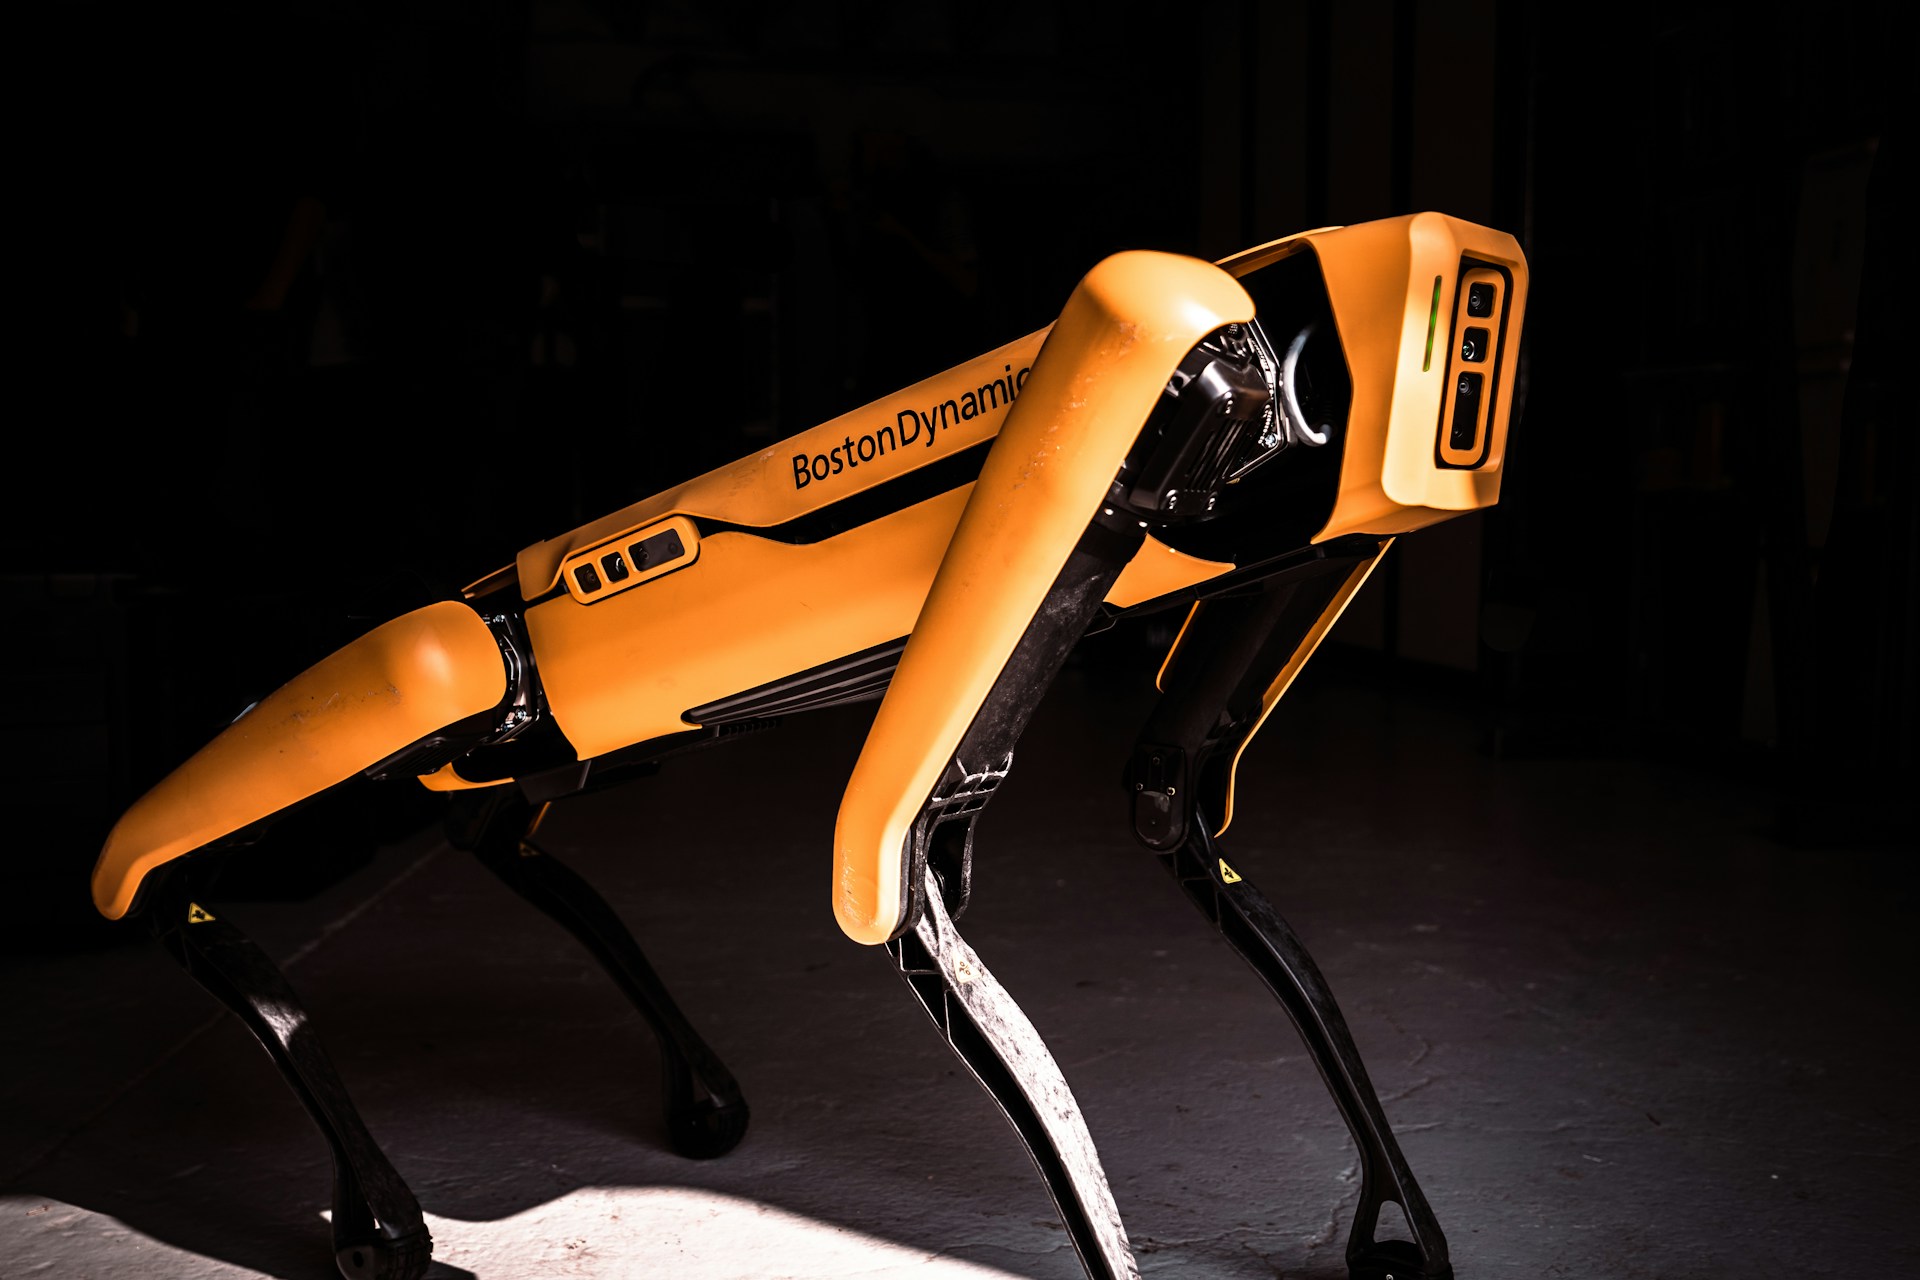
3. Create a Basic Layout Drawing
After exploring several concepts for the robot, choose the one that appears to be the best equipped to meet the robot’s design requirements. This design should be financially feasible, physically functional, and capable of performing its job in an efficient, effective manner.
For example, if you wanted to build a robot dog that could shake its paw for you, you might have one concept design with the dog sitting down and one with it standing up. In this case, the concept drawing with the dog sitting down is more physically functional. If you built the robot dog standing up, it would fall over when it tried to do the shake paw trick.
Once you have closely analyzed each concept design and selected the best one, the next step is to draw a basic functional design. This design still doesn’t need to be too detailed. It is simply taking the rough concept sketch and converting it into a more realistic design.
The goal of this stage is to determine the basic layout of the robot. Where will the robot’s CPU, power supply, and motors be located? What sensors will the robot use? Where will those sensors be located? Roughly how big will the robot be? These are all questions to answer in the basic layout design.
4. Add More Detail
The next step is one of the most important in learning how to design a robot: the detailed design. This will be the core functional design for your robot, the drawing that the building process will be based on. Depending on the complexity of your robot, there may even be multiple detailed designs for different parts or sections of the robot.
The detailed design drawing can be thought of as a blueprint. This is a technical scale drawing of your robot with precise dimensions. It should show how your robot will function and how different parts will interact. It should also show where things like gears, screws, and axles should go. The exact measurements of every part should be included.
At this stage, you will also plan out where all of the robot’s electronics will be and how they will be connected. One particularly important element to determine is what processor or microcontroller that will run your robot. Different microcontrollers can support different electronic components and require different programming languages. So, make sure that your CPU selection is finalized by this stage.
Once your CPU is selected, you will need to plan out the rest of the robot’s electronics. For example, if a robot has joints, how will wires be run through those joints? What power supply will the robot use? Where will its sensors be located and how will they connect to the CPU?
This detailed design should act as a guide to assembling the robot. If you were going to build your robot, what information would you need? You’ll be using this design to create the prototype of your robot, so make it as detailed as possible.
5. Create a CAD Model
Depending on the complexity of your robot or how it will be built, you may also create a CAD model of it in addition to 2-dimensional designs. Computer aided design, or CAD, is a commonly used technology in robotics and engineering. It uses software programs to create interactive 3D models of objects that are detailed and to scale.
Beginners don’t usually need to use CAD modeling, especially if you are using a robotics kit like VEX or LEGO. However, if you are interested in learning how to design a robot, learning to create CAD models is a very helpful skill to have. This is particularly true if you want to 3D print custom parts for your robot or have them professionally machined.
CAD designs can also be the most convenient format for robotics designs. Most CAD programs include features that will generate 2D blueprints from 3D models. Plus, the digital designs created in CAD are easier to share if you are designing your robot with a team. Additionally, if you do want to 3D print components of your robot, you can easily convert CAD models into STL files, the most common file format used in 3D printing.
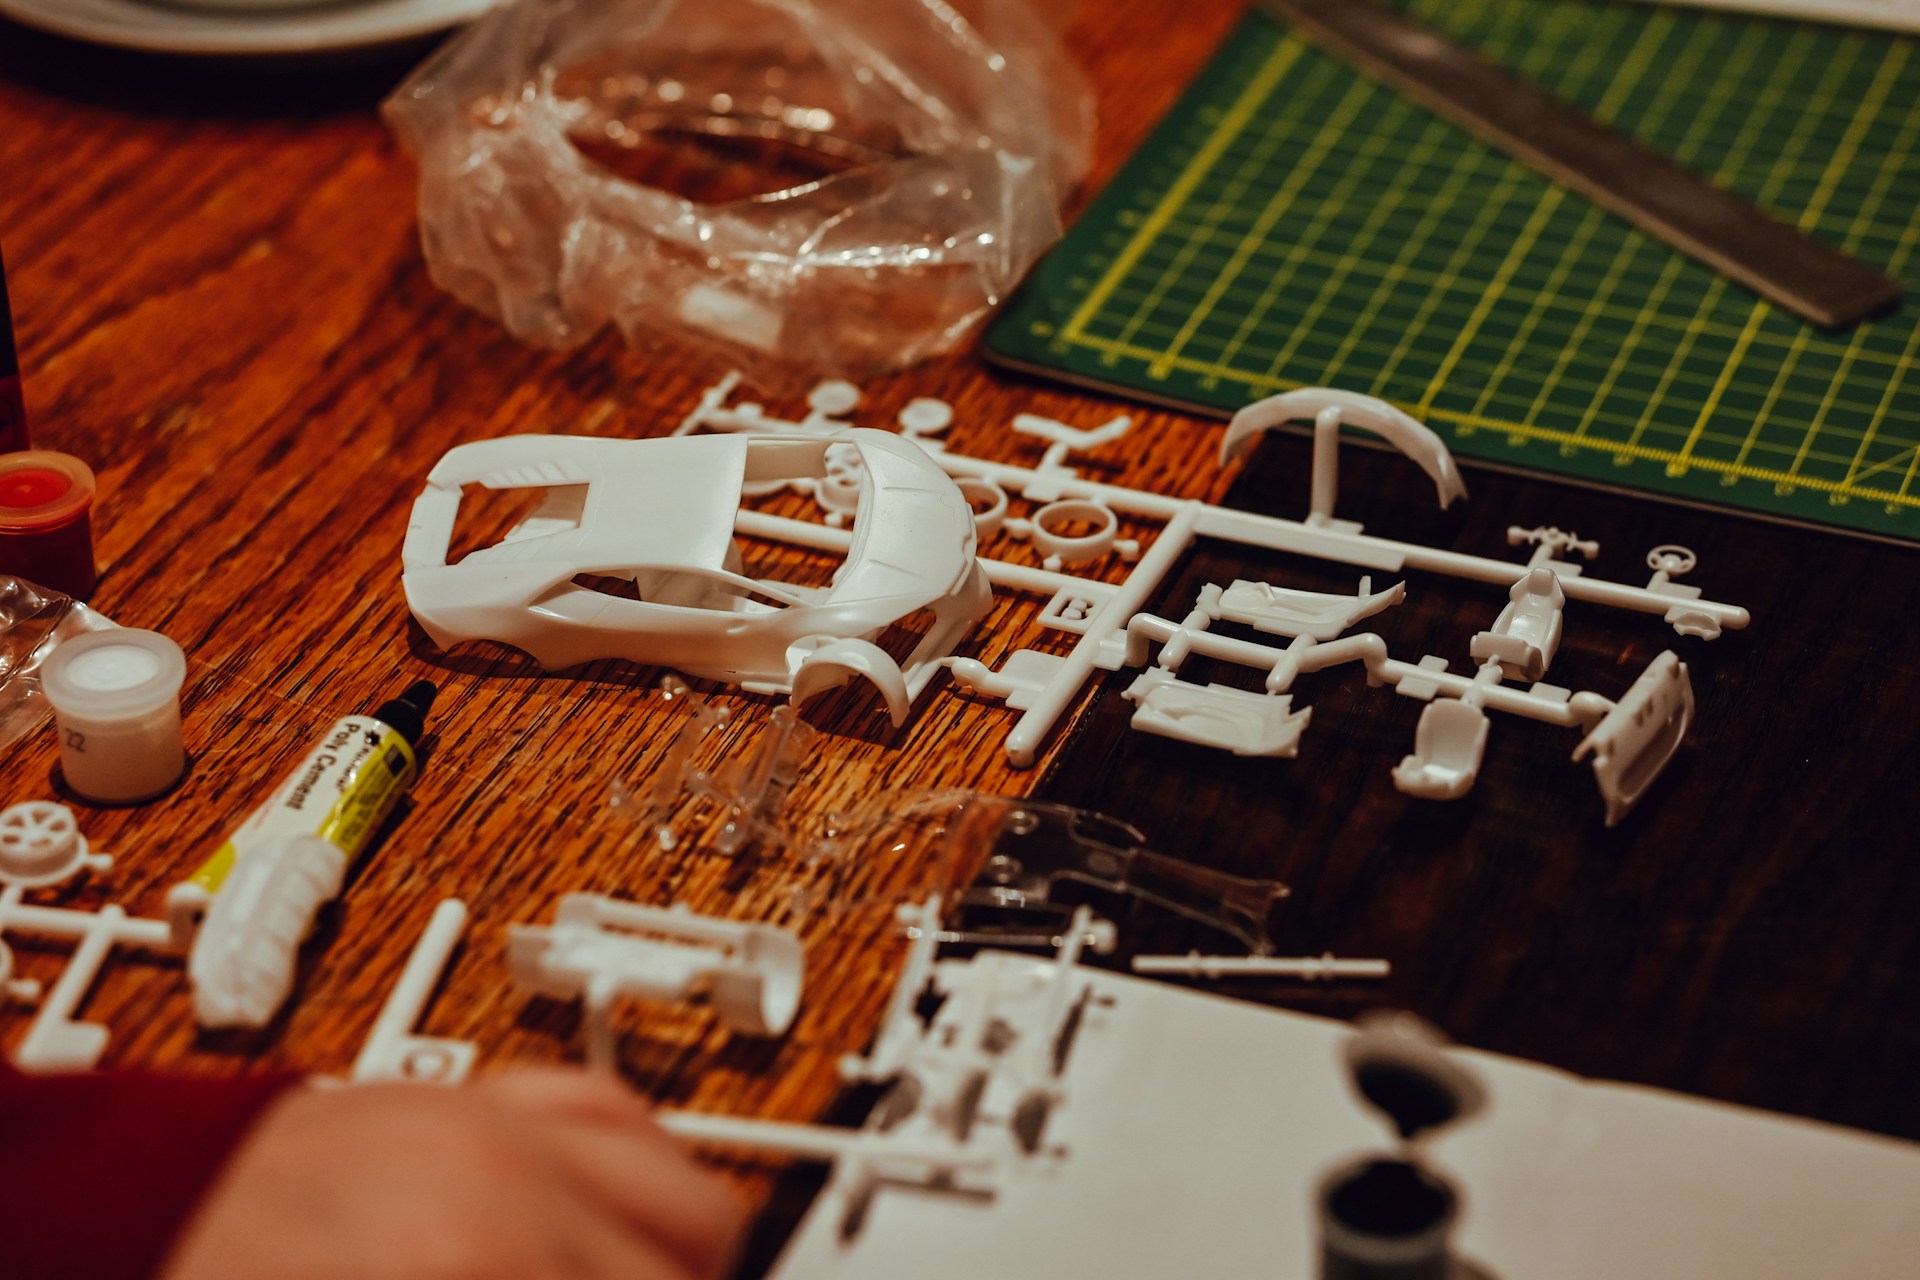
6. Construct a Prototype
Once you have a detailed, functional, scale design of your robot, the next step is to create a physical prototype. This stage is all about executing the design you’ve created and seeing how it works in the real world. Build your prototype exactly as you would the real robot because this first model will be used to make improvements to your design for the final version.
Create a series of tests to run your prototype robot through once it is built. For example, if you are designing a line follower robot, make a few different line following courses for the robot to try and navigate through. These tests will reveal any issues with your design and indicate ways to improve it.
It can be helpful to establish some key metrics to use as benchmarks before you start testing. For instance, you might want your line follower robot to complete a course in a certain amount of time or follow lines with a certain level of accuracy. Testing metrics will give you a concrete way to see how future improvements to the robot’s design compare to past performance.
7. Refine Your Creation
Finally, the last step in learning how to design a robot is learning how to improve your designs. Engineering and robotics are all about problem solving and continuous improvement. Testing the prototype of your robot design should reveal at least a few ways that the design could be tweaked to perform better.
Take time to analyze your design with fresh eyes after testing. What changes could you make to the design to help the robot function better or operate more efficiently? You may even realize that you may need to start over with a completely new design for your robot! That’s okay, too. You will learn something new with every new robot design. By using what you’ve learned designing previous robots, your future robots will continue to improve upon one another.
How to Design a Robot: A Robotics Learning Experience
Designing and building your own robot can be a fun and highly rewarding experience for kids and adults alike. As our world becomes increasingly reliant on technology, learning how electronics and robotics work is becoming more important for everyone. Learning how to design a robot may be daunting at first, but it is a learning experience that will leave you feeling more knowledgeable and technologically capable while also having fun.
Revolutionized is reader-supported. When you buy through links on our site, we may earn an affiliate commission. Learn more here.
Author

Lou Farrell
Lou Farrell, Senior Editor, is a science and technology writer at Revolutionized, specializing in technological advancements and the impacts on the environment from new developments in the industry. He loves almost nothing more than writing, and enthusiastically tackles each new challenge in this ever-changing world. If not writing, he enjoys unwinding with some casual gaming, or a good sci-fi or fantasy novel.