Modeling 101: How to Model for 3D Printing
November 29, 2022 - Ellie Gabel
Revolutionized is reader-supported. When you buy through links on our site, we may earn an affiliate commission. Learn more here.
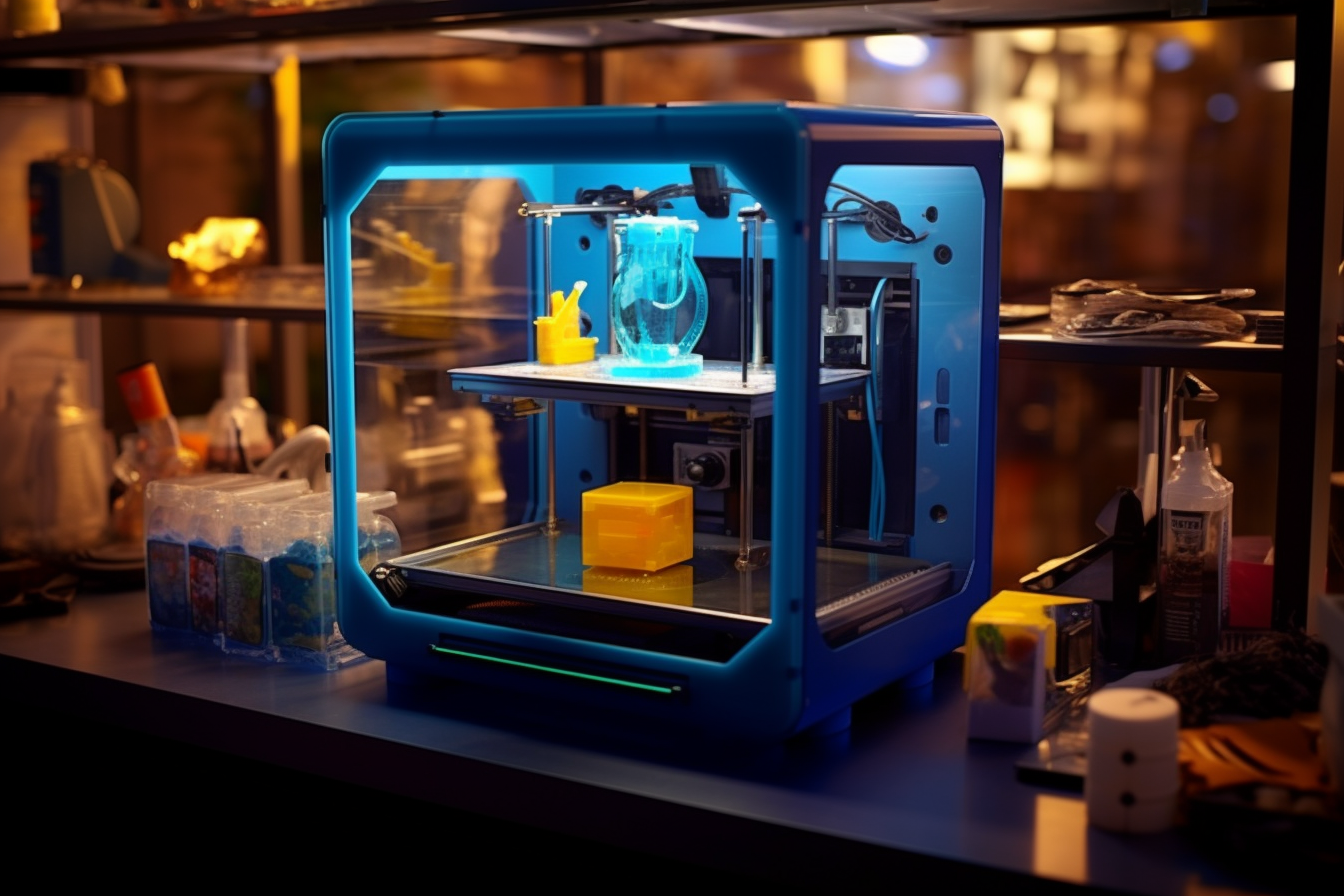
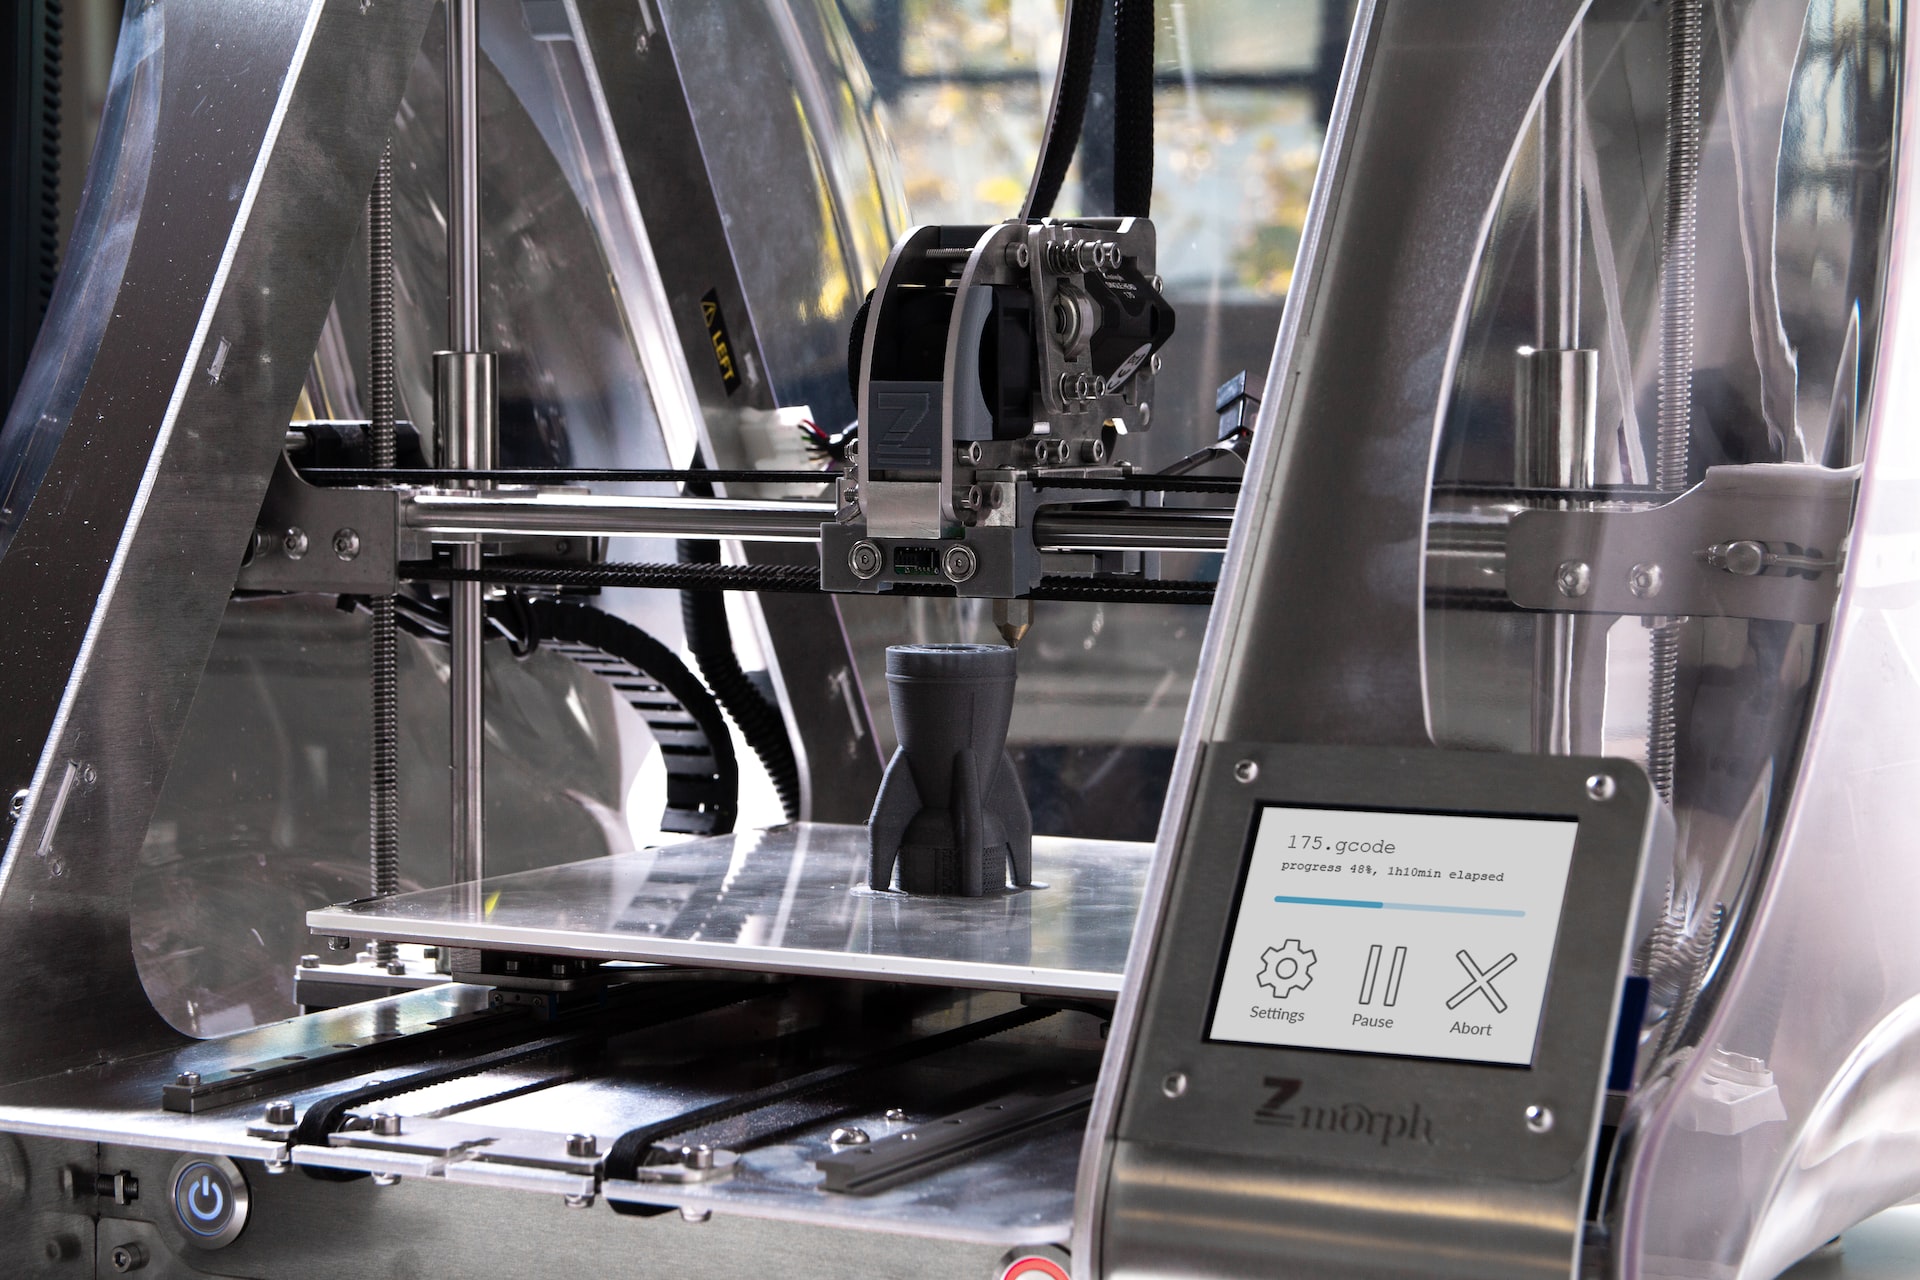
3D printing technology has become more affordable and accessible than ever, but getting a printer for your workshop is only part of the equation. Sure, you can download models for almost anything you could ever imagine, but what happens when you want to print something no one has ever thought of? At that point, learning how to model for 3D printing will come in handy. If you’re feeling a little intimidated, don’t be — here are some tips to help you get started.
Understanding Computer Specs
Learning how to model for 3D printing starts with your equipment. If you’re using a ten-year-old desktop computer to check your email and watch YouTube videos, you might need to upgrade your machine. You’ll need a lot more RAM and processing power, especially if you plan to start rendering more extensive designs. Make sure your machine has:
- A 4.0 GHz processor or better.
- A GPU with at least 6G of VRAM.
- A Minimum of 8 GB of RAM
You may also want to increase these parameters to improve the machine’s performance and reduce the time it takes to render a finished product. These are just the minimum requirements to help you start your 3D modeling journey.
Choosing Your 3D Modeling Program
You’re not going to get any 3D modeling work done in MS Paint or the Apple equivalent. You can’t even get away with Photoshop this time. Instead, you’ll need a program designed specifically for 3D modeling. Some of the best 3D modeling programs for beginners include:
- Blender
- Wings 3D
- Vectary
- BlocksCAD
- SketchUp Free
- ZBrush
- Unreal Engine
- Cinema 4D
This list isn’t exhaustive, but it is a great place to start your 3D modeling journey. There is a significant learning curve with most of these programs, so if you’re just starting, don’t get discouraged if you have to look up YouTube tutorials to help you overcome hurdles.
Learning Basic Modeling Terms
You may hear a lot of odd terms when you first start learning how to model 3D printing. A few basic terms that you’ll want to understand before you get started include:
- Polygon — a set of basic geometric figures consisting of both straight edges and vertices.
- Vertex — (Plural: vertices) A single point in three-dimensional space, also known as the tiniest point of a polygon.
- Edge — The point on a polygon’s surface where two faces intersect or meet.
- Face — Any space where three or more edges meet.
- Mesh — A model that includes vertices, edges and faces. Your completed 3D shape is known as a mesh.
Again, this list isn’t exhaustive, but it can help point you in the right direction as you start your 3D modeling journey.
The Modeling Workflow
With any type of creation — digital or physical — there is a workflow to follow that makes the process easier. Thankfully, the workflow for 3D modeling is fairly straightforward, though, as with the rest of the process, it has a steep learning curve.
Conceptualizing
Step one is conceptualizing — imagining and thinking about the object you want to create. You may wish to create a storyboard, which will become a sequence you can follow to create your finished product.
Modeling
You don’t need to worry about details when you’re in the modeling stage of the workflow. Think of this as your sketching or first draft stage. Use your rendering software to get the basic design down your digital field. If you’re modeling for animation instead of 3D printing, you’ll want to block out the basic frames for each movement. For 3D printing, you’ll create a static design, so you can skip that step.
This step is where you’ll generally stop when it comes to 3D printing, but since there are more uses for modeling than just creating plastic prints, we’ll continue through the rest of the modeling workflow.
Texturing
Experts define texturing as adding a 2D picture to the background of your 3D model or to the model itself. You’re essentially creating an environment for your 3D model to exist within.
Shading
Shading allows you to play around with lighting, creating a more realistic final product. This stage isn’t as necessary for 3D printing but will be essential for other forms of 3D animation.
Rigging/Animation
If your 3D model needs to move, the rigging and animation stage is where you’ll make that happen. Rigging means giving your model a movable skeleton that you can position as needed to complete various animations.
Effects
Finally, if you’re using 3D modeling to create an animated movie or video game, you’ll want to add effects to help make the world more immersive.
Six Principles of 3D Modeling
Learning how to model for 3D printing isn’t easy, but with time and practice, you can generate some amazing designs. Here are some quick principles you should remember when working with 3D modeling software like Blender to help make your life easier:
1. Start by Focusing on the Big Picture
In 3D modeling, it’s easier to focus on the big picture before you start adding details. Get the big picture on the screen first, then add the nuts and bolts.
2. Apply Detail Work in Passes
Don’t try to get to the finished product in one fell swoop. Working in passes, adding a little more detail each time, can help break the work down into smaller and more manageable chunks.
3. Use Scale and References
This principle isn’t as important if you’re building something fantastical, but if you’re creating items for a game world, use real-scale items for reference to ensure that everything will fit the world you’re trying to create.
4. Make Making Changes Easy
Don’t make your meshes so complicated that you can’t change something easily. Meshes should be easy to modify if you need to adapt or change a design.
5. Reuse Your Mesh
If you’re planning to print multiple copies of your design, reusing your mesh saves you the effort of rendering the model repeatedly.
6. Pay Attention to Surface Quality
When you render your model, look for warped areas, pinches or bumps on the surface. It might look fine on the screen, but these little imperfections could interfere with your final print.
Learning How to Model for 3D Printing
Learning how to model for 3D printing isn’t easy, but it can be incredibly rewarding. Try it out for yourself! You might be surprised by what you can come up with once you get a feel for the software.
Revolutionized is reader-supported. When you buy through links on our site, we may earn an affiliate commission. Learn more here.
Author
Ellie Gabel
Ellie Gabel is a science writer specializing in astronomy and environmental science and is the Associate Editor of Revolutionized. Ellie's love of science stems from reading Richard Dawkins books and her favorite science magazines as a child, where she fell in love with the experiments included in each edition.
