


Revolutionized is reader-supported. When you buy through links on our site, we may earn an affiliate commision. Learn more here.
Searching Google for the best free 3D modeling software brings up the same answer: Blender. Blender is a free, open-source 3D modeling software that supports everything from modeling and sculpting to motion tracking and video editing. For free software, it contains everything you need for 3D modeling and animation — or 3D printing.
Unfortunately, as with most 3D modeling software, there is a reasonably steep learning curve while figuring out the program. Follow along to learn how to use Blender for 3D printing.
Opening Blender for the first time can be intimidating. You may never use many features — such as animation and lighting — if you’re only planning on 3D printing. You’ll want to start by deciding on your measurement units. You can choose between imperial or metric measurements — or none- if you plan to freehand. You can also choose between degrees or radians for measuring in three-dimensional spaces.
According to Blender’s default settings, one “Blender” is one square meter. Chances are high that your 3D printer platform isn’t that big, so you’ll need to modify your settings to better suit your printer. If you’re planning to use any add-ons to make your modeling journey easier, you’ll want to activate them now.
Every 3D print starts with a digital model, so once you have all your settings tweaked to your liking, it’s time to start creating your first shapes. Start by planning out your design. You can create nearly anything you want with these programs and an excellent 3D printer, but it’s always a good idea for beginners to start with a simple object.
Pick something easy — like a drinking glass — and start developing your design. Get a feel for how the different tools and vertices modify the 3D structure you’re designing. In the words of the iconic Miss Frizzle (of Magic School Bus fame), “Take chances, make mistakes, get messy!” And yes, you will get messy — if you’ve ever seen a 3D print spaghetti-fi when it fails, you’ll understand the mess.
Before printing, it’s important to start adding and perfecting your details. The easiest way to do this is to start with broad strokes and slowly, as you add each layer, begin to increase the detail levels. For example, if you’re trying to make a drinking glass, as we mentioned above, you might start with a cylinder. Next, you could add some angles to make it less of a cylinder and more of glass. Then, if you were creating a 3D model for a game or image, you could make the walls transparent to resemble glass and add lighting or reflections. For 3D printing, you don’t generally need to worry about these steps.
During your details phase, you will also want to decide on dimensions. As stated above, one “Blender” is normally one square meter — and unless you intend to bathe in it, no one needs a glass that big.
Blender has been the free software option for 3D modeling since 2002, but in recent years, as 3D printing has started gaining momentum, the program began implementing tools that make the process easier. The site even offers courses on how to use Blender for 3D printing, including add-ons that they’ve included in the recent 2.67 version, such as Mesh Analysis and 3D Printing Toolbox.
If this is a brand new 3D printer, you’ll have some calibration steps before you’re ready to start printing your new creations. One of the easiest ways to calibrate a new device — and tune your slicer settings so they work optimally — is to set up a ‘torture’ test — a print that puts the printer through all its paces to ensure that your measurements are correct and your prints will come out the way you want them to.
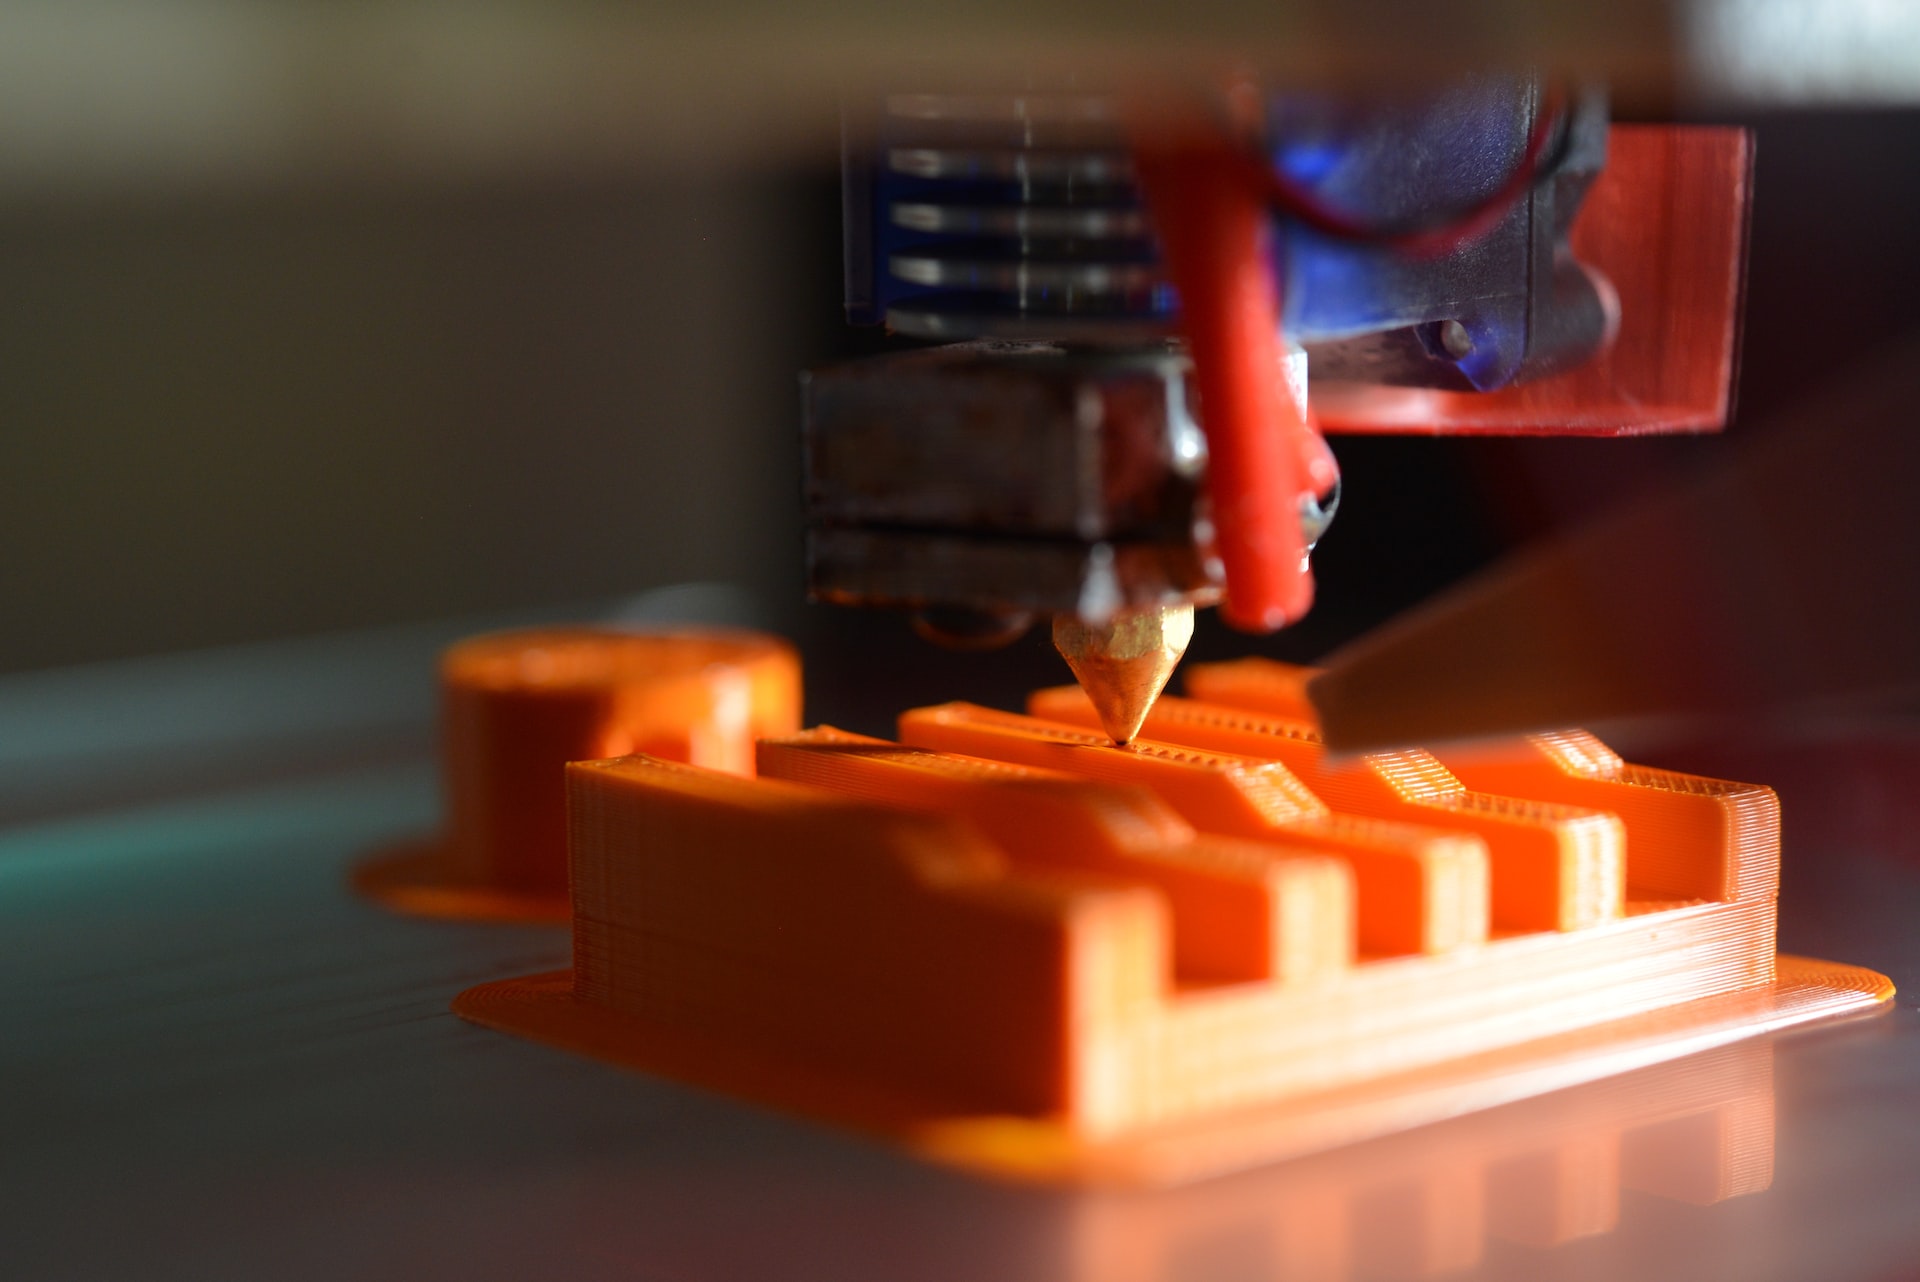
Your torture test starts with the first layer to ensure that your print head is a proper distance from the print bed. Too close, and the nozzle will squish the print before it has a chance to cool and harden. Too far away, and it won’t stick to the bed leading to print failure.
Next, you’ll need to calibrate the stepper motors to ensure they’re moving the correct distance for each printing step. Then, work to calibrate the extruder and the axes. This step requires measuring the finished print to ensure it’s printed to the desired dimensions. Then work on your filament and temperature settings — too hot and you’ll burn the filament. Too cold, and it won’t melt enough to provide adhesion.
Finally, once all your calibrations are complete, pick an intricate print with many challenging features to double-check that all your settings are correct. It might take a few tries to ensure that everything works correctly, but in the end, you’ll be left with a printer that works perfectly every time.
Printing solid structures might be necessary for some designs, but for most, hollow spaces help cut down on filament use and weight. Those open spaces require support to prevent the printed filament from collapsing under its own weight while it cools. You have two options when it comes to designing supports. You can build them into your design or, like many, you can choose to let your slicer place them automatically.
If you choose the second option, make sure you go over the sliced file to ensure that the support placement doesn’t interfere with your finished design.
Learning how to use Blender for 3D printing is just the first step. Once you’ve got a design you’re happy with, it’s time to try your first print. While many different printing material options are available right now, we suggest starting with a basic plastic filament until you get a feel for the designs. Slice your file, click print and wait to see how it turns out. For the first few prints, you may wish to choose small designs that print relatively quickly, so you can monitor the process. That way, if something goes wrong, you can cancel the print and head back to the drawing board.
Don’t get discouraged if something goes wrong with your first print — or your hundredth. 3D printing can be a fickle medium, with things going wrong randomly, no matter how much work you put into them. Clean the print bed and try again — or use all your newfound Blender skills to create something new.
Revolutionized is reader-supported. When you buy through links on our site, we may earn an affiliate commision. Learn more here.
This site uses Akismet to reduce spam. Learn how your comment data is processed.