


Revolutionized is reader-supported. When you buy through links on our site, we may earn an affiliate commision. Learn more here.
Want to replace 3D printer nozzles safely and easily? The process of replacing your printer’s nozzle is fairly straightforward, requiring a few simple steps.
Most 3D printer nozzles last about three to six months before they need to be replaced. Nozzles get worn out over time, increasing the likelihood of printing errors and reducing print quality.
This quick guide will walk you through the process of swapping out your old 3D printer nozzle for a shiny new one in five steps. Keep in mind, this process is intended for standard hobbyist FDM 3D printers and may not apply to other printer types.
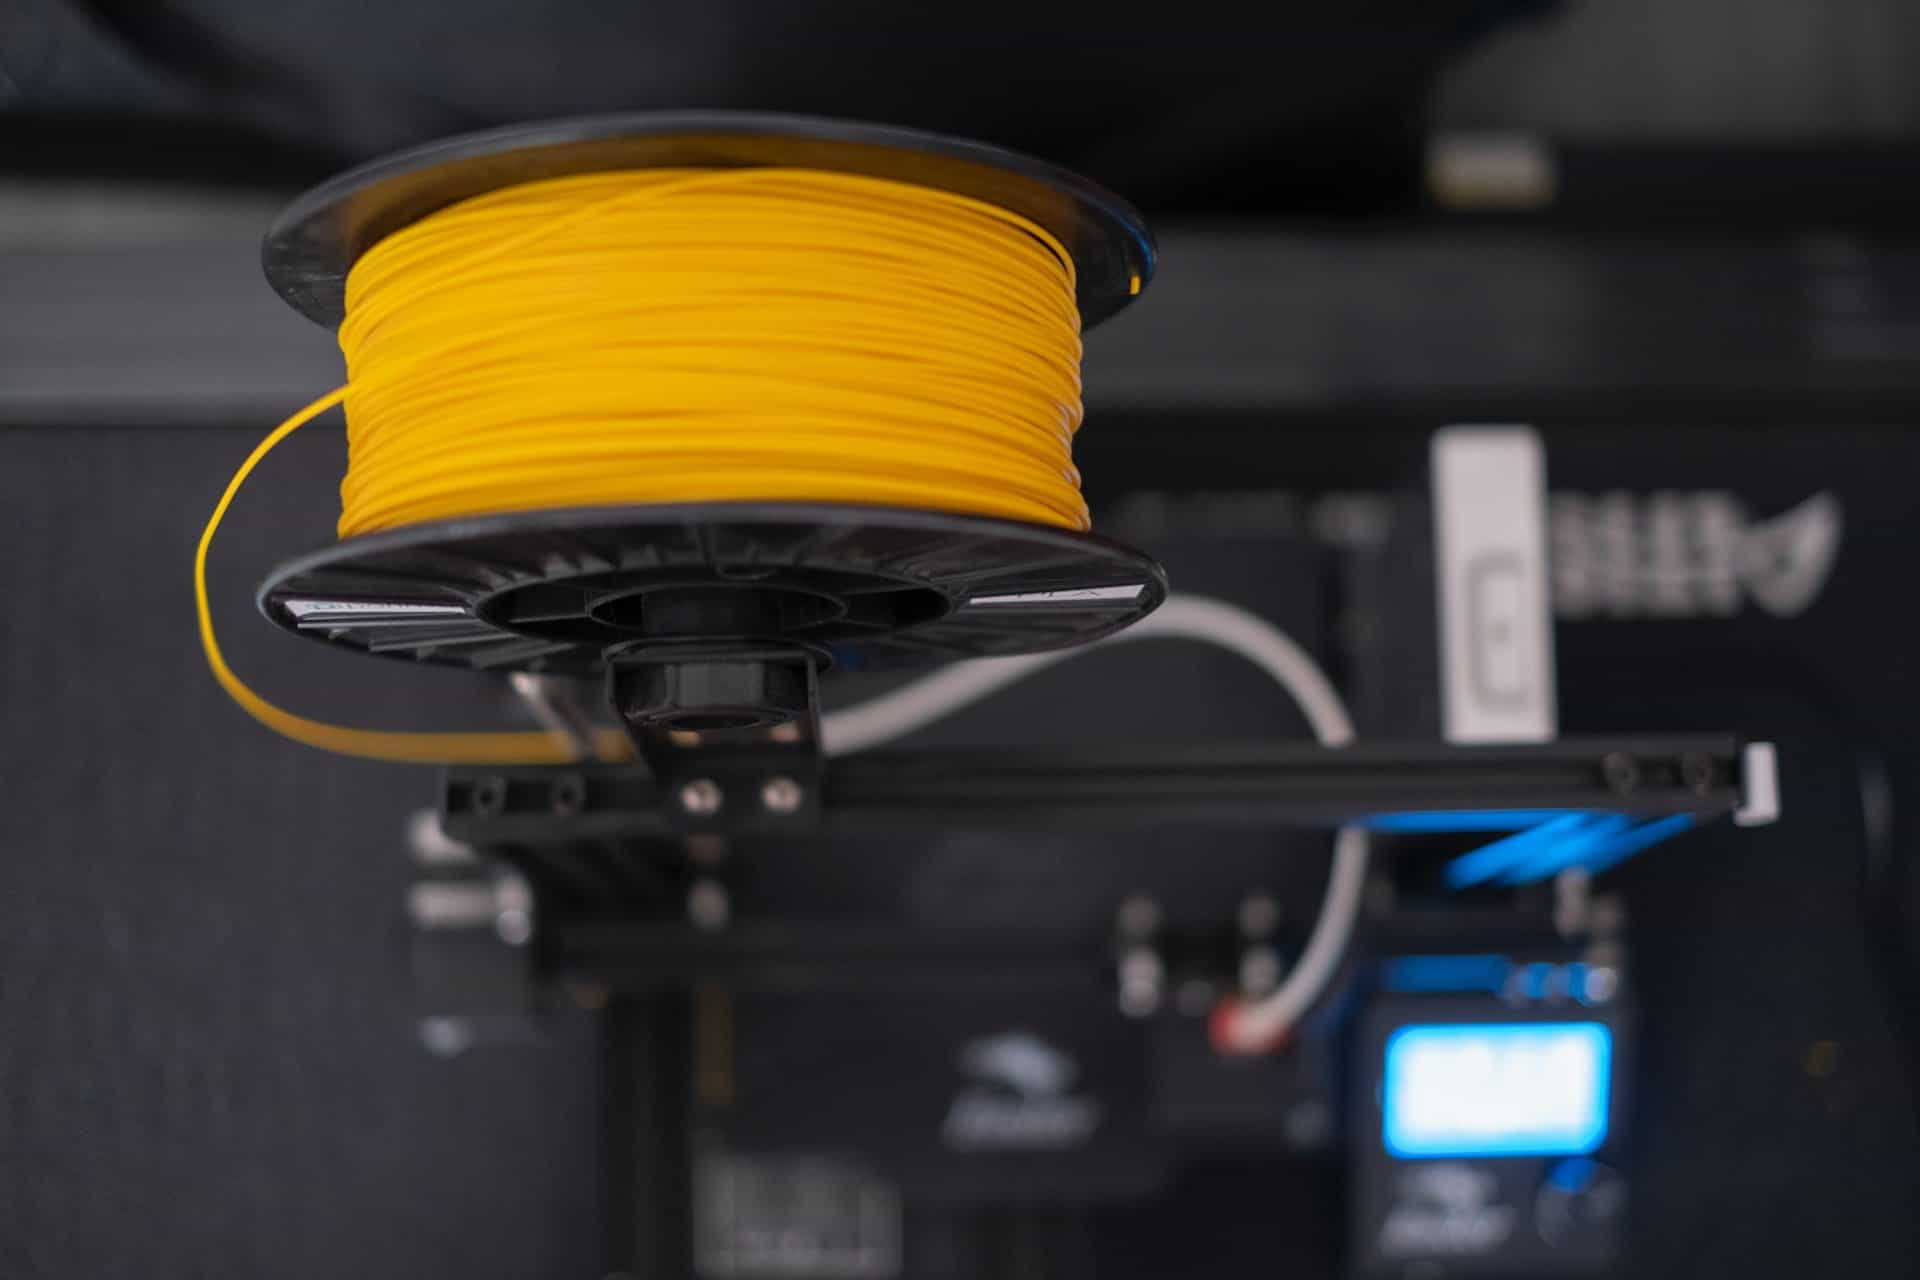
The first step to replace 3D printer nozzles is collecting the right tools for the job. You will need pliers or a wrench for holding your printer’s hot end. You will also need a socket wrench for removing and replacing the 3D printer nozzle. Most 3D printer nozzles have a 6 or 7 mm diameter but always double-check before buying a socket wrench.
If your 3D printer came with a set of tools, you may simply be able to use these for changing the nozzle. You will also need heatproof gloves. These will protect your hands from burns while you are working with the hot printer components.
You will also need to choose a new nozzle to replace your old one. You can get a new version of the exact same nozzle or swap it out for something different. The main difference between nozzles is the inner bore diameter. This translates into the width of the layers your printer creates. Most 3D printers have a 0.4 mm nozzle installed by default. This is a good all-around size for most people.
You can choose a different size if you want, though. Nozzles smaller than 0.4 mm are good for more detailed prints, but may increase the likelihood of nozzle jams. Nozzles larger than 0.4 mm will print faster but with less detail. Consider the type of prints you are most interested in doing when researching new nozzle sizes. Always double-check that the nozzle’s threading and width are compatible with your printer, as well.
While it may sound counterintuitive, you’ll want to heat up your printer before trying to replace 3D printer nozzles. Letting the printer warm up before swapping out the nozzles allows any print material in the hot end to melt. This makes it easier to clean and replace the nozzle.
Set your printer to the usual temperature you use for printing or up to the max temperature. Make sure you remove any filament you have loaded into your printer, as well. It may help to let the printer heat up a bit before pulling the filament out.
Next, some disassembly is required. The process to replace 3D printer nozzles can be a bit complicated at this stage, so it may be helpful to have an extra set of hands. Make sure you are wearing heatproof gloves at this stage, too, since the printer will be quite hot. Always use tools to touch the hot printer parts, not your bare hands.
Many 3D printers have casing around the hot end assembly. Use screwdrivers or wrenches to remove this outer casing until your hot end assembly is exposed. Be careful with any wiring around your printer’s casing during this process. You don’t want to accidentally break or cut any wires.
Once the outer casing is out of the way, you’re ready to take out the nozzle. If you’re having trouble identifying the different parts of your printer, use a diagram to find the heat block and nozzle. Start by using a wrench to hold your heat block while you remove the old nozzle. Be careful to only pinch the heat block around the metal part, not delicate parts like the heater cartridge. If you don’t have a wrench, you can also use pliers for this step.
While holding the heat block using your wrench, use another wrench to unscrew the old nozzle. Socket wrenches are great for this task, particularly L-shaped wrenches. You shouldn’t need to use much torque in either wrench to remove the nozzle.
Be careful not to touch the nozzle or heat block with your hands, even with gloves on. The hot end is likely over 300 degrees hot at this point. After unscrewing the old nozzle, make sure you set it down on a surface that won’t melt, such as a metal tray or dish.
Once the old nozzle is removed, you can insert the new printer nozzle. You may also want to simply clean your existing printer nozzle and continue using it. This process works the same either way.
Take out your new nozzle and use the socket wrench to line it up with the threads in the heat block. Thread the new nozzle in a few turns, but not all the way. Then leave it for a minute. This will let the metal of the new nozzle warm up to match the rest of the hot end. After the new nozzle is warmed up, use the socket wrench to screw it in the rest of the way.
You will need to use the second wrench to hold your heat block in place for the last few turns. However, be careful not to put too much torque on the hot end. You can screw the new nozzle in until it is snug against the heat block, but you don’t need to crank it in any tighter than that.
The final step to replace 3D printer nozzles is reassembling the hot end casing. This is simply the reverse of the process you used to remove the casing in the third step. Remember to be careful while putting the hot end casing back on as the hot end components will still be warm. It’s a good idea to use your heatproof gloves during this step.
Once everything is reassembled, there’s still one final step before you can test out your new 3D printer nozzle. Level your print bed again. Your new nozzle may require different settings than your old one. For instance, you may need to re-calibrate the Z-height or vertical height of your print bed.
This process is also known as nozzle height calibration and usually requires just a few steps. Remember to check your specific printer’s instructions for leveling the print bed since it may differ from one model to another. Once the print bed is leveled, your 3D printer and new nozzle should be all ready to go!
The process to replace 3D printer nozzles is fairly straightforward when you know where to start. It is simply a matter of disassembling and reassembling a few key parts. By following these easy steps and taking the right safety precautions, you can have your printer nozzle replaced in no time!
Revolutionized is reader-supported. When you buy through links on our site, we may earn an affiliate commision. Learn more here.
This site uses Akismet to reduce spam. Learn how your comment data is processed.